Panels task
Once your roofs have been created and selected, the next step is to add panels to them.
Choosing your panel
- Mention Midsummer stock, pricing and link
- Custom panels
Creating panel layout
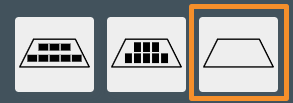
There are various ways to populate a roof with panels:
| Drag and drop to place them individually |
|
| Click and use the arrow keys to add adjacent panels |  |
| Auto-fill the roof with as many panels as will fit within the specified margin |  |

Similarly, to remove panels you can do the following:
- Double click
- Shift+Click and drag to select multiple panels to remove them
- Use the final option to clear the roof

Choosing mounting system
Once the roof has panels on it, you can choose from the available mounting options on the right. The mounting options displayed will be compatible with the roof and panel orientation and size.
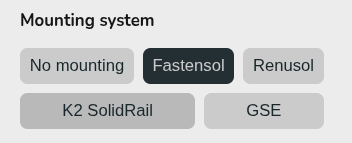
When selected Easy PV will specify the necessary mounting components, before taking into account structural considerations. Additional adjustments needed to the number of hooks will be calculated in the structural task.
Depending on the mounting system, you may also have additional options to configure the specified components (rail colour, preferred hook, bird blocker etc.).
If the mounting option you want to use is not available, select no mounting. For flat roofs, you will have additional options to configure the panel layout, including east-west options.