
Panels task
After your roofs have been created and selected, the next step is to add panels to them. This is done in the Panels task. In this task you choose the panels, the layout and the mounting system you'd like to use.
Choosing a panel
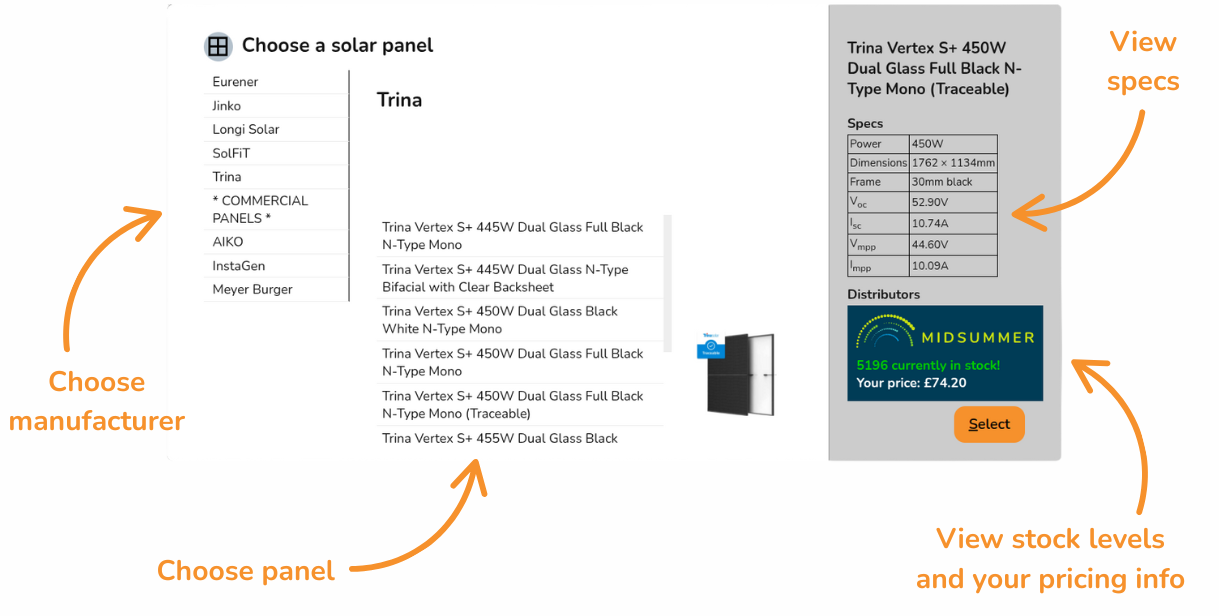
When you open the panels task, you'll be prompted to select a panel to use. Select a manufacturer on the left and then select an individual panel in the middle. You may need to scroll up or down to see the individual panels.
Can't find what you're looking for? Add custom panels.
Once selected, on the right you can see the specs for the panel and Midsummer stock and price information. Click on the Midsummer box to view the full listing with datasheets, warranty and more.
Click Select in the bottom right once you've chosen your panel
Tip: Connect your Midsummer Wholesale account for accurate pricing. Not registered? Sign up here.
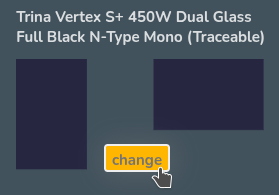
Once you have selected a panel, you can click change on the left-hand menu to reopen the panel menu.
Creating panel layout
Add panels
There are three ways to add panels to a roof:
 Drag and drop to place panels individually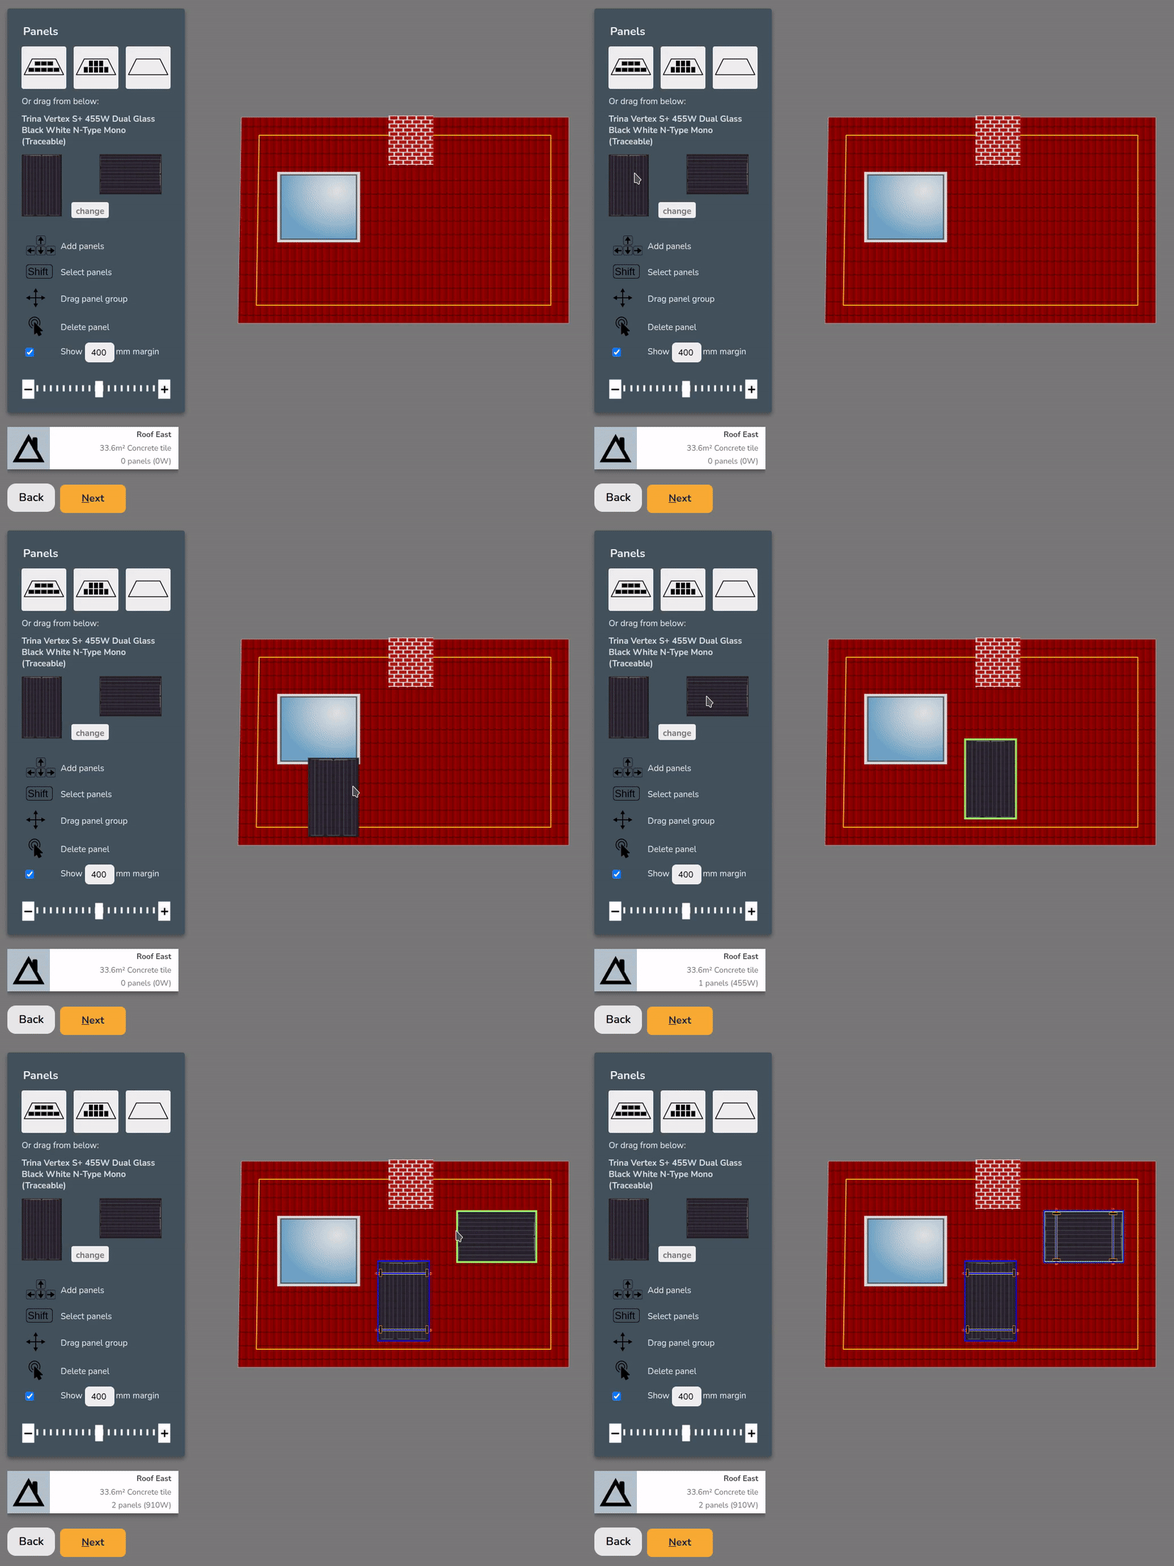
 Click on a panel and use the arrow keys to add adjacent panels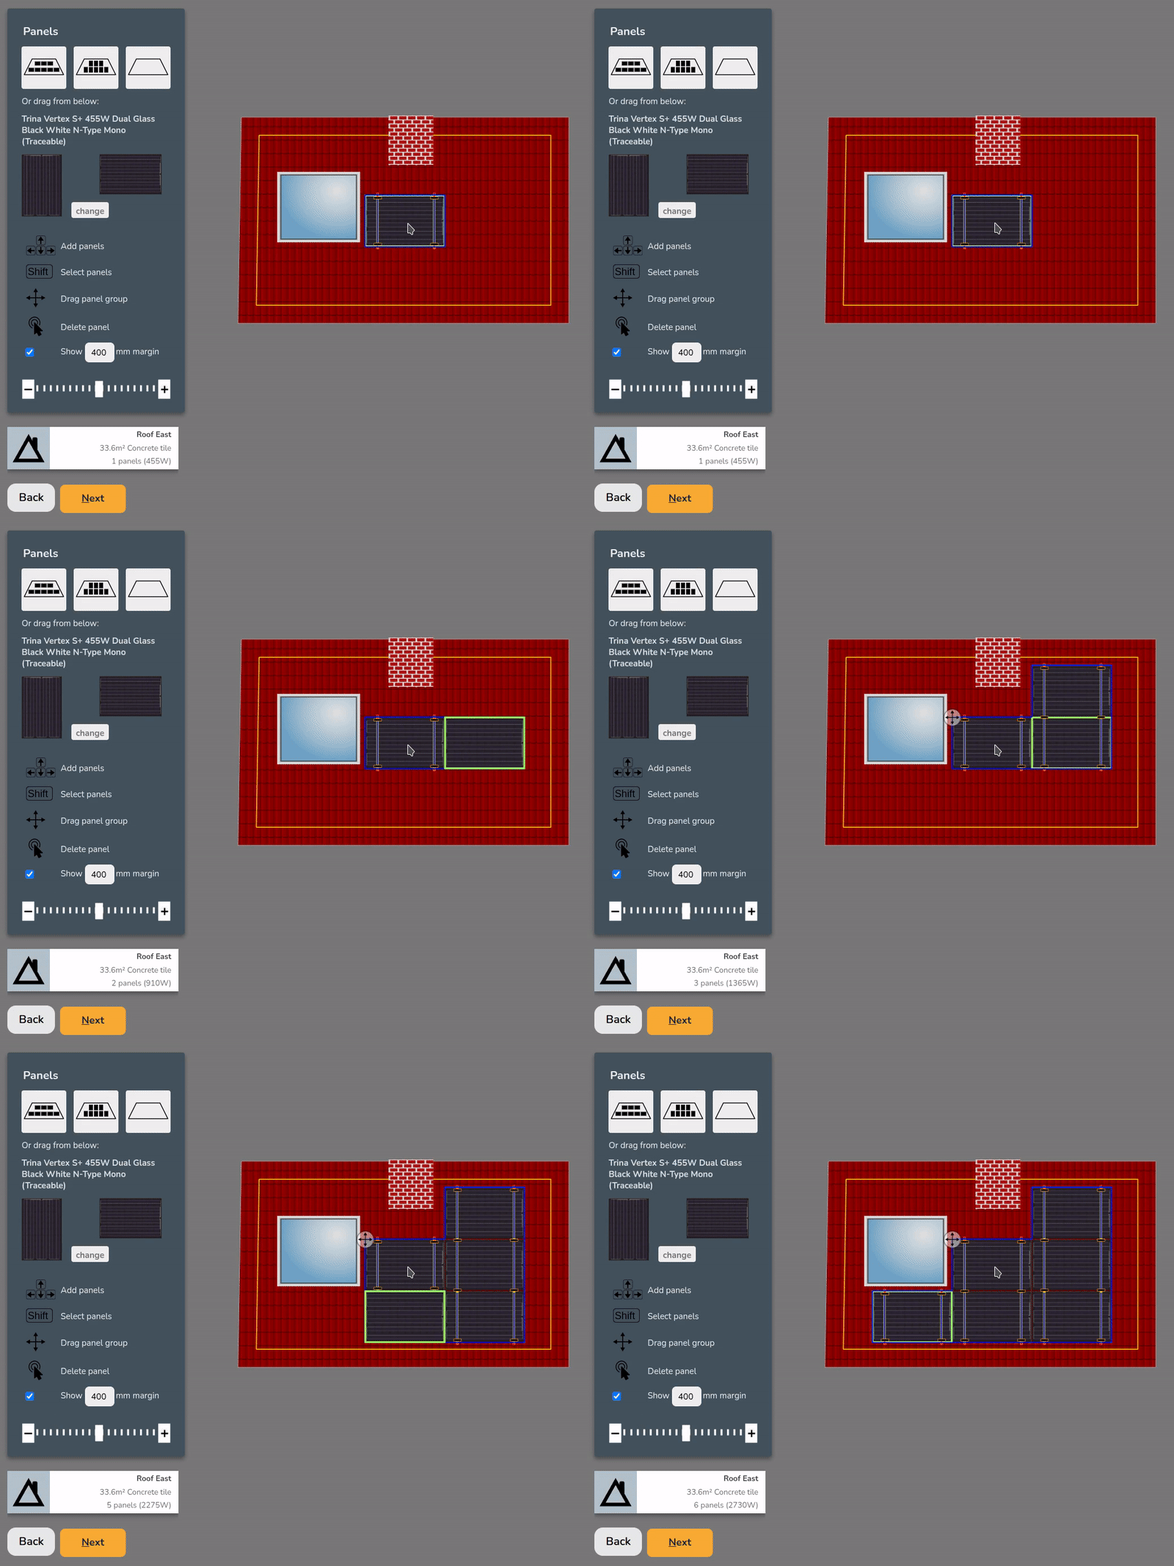
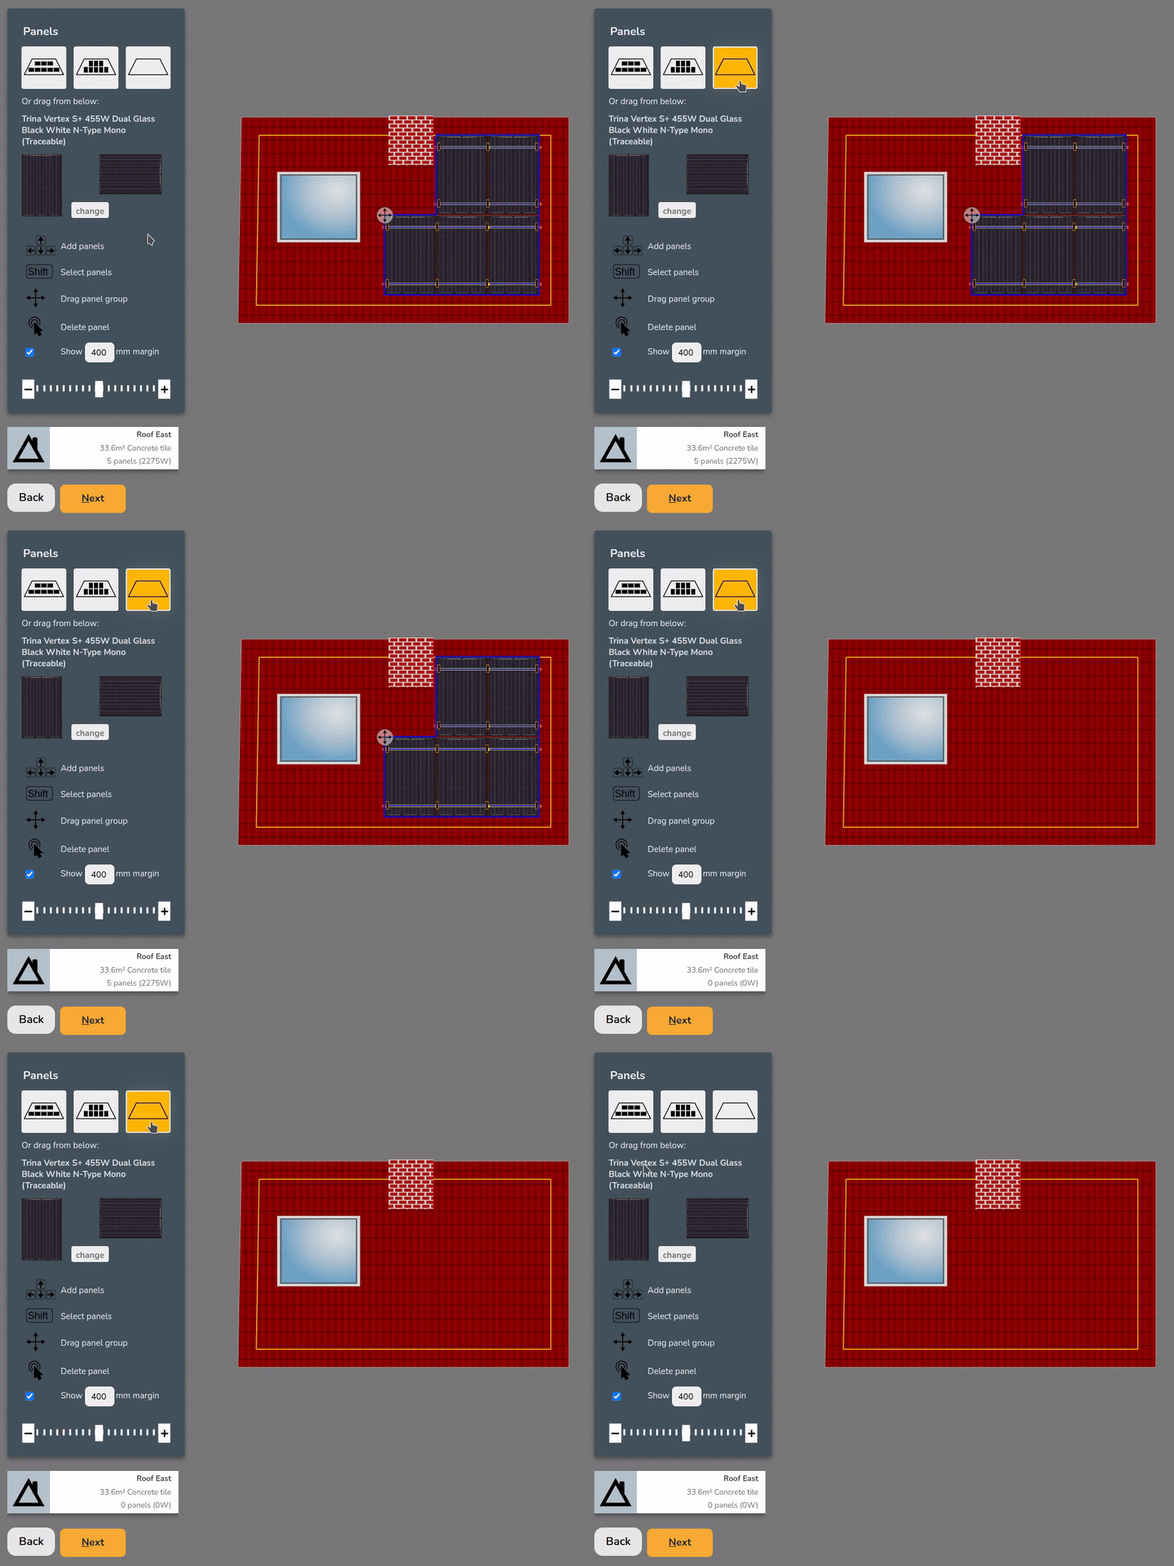
- Click auto-fill options to fill the roof with portrait or landscape panels
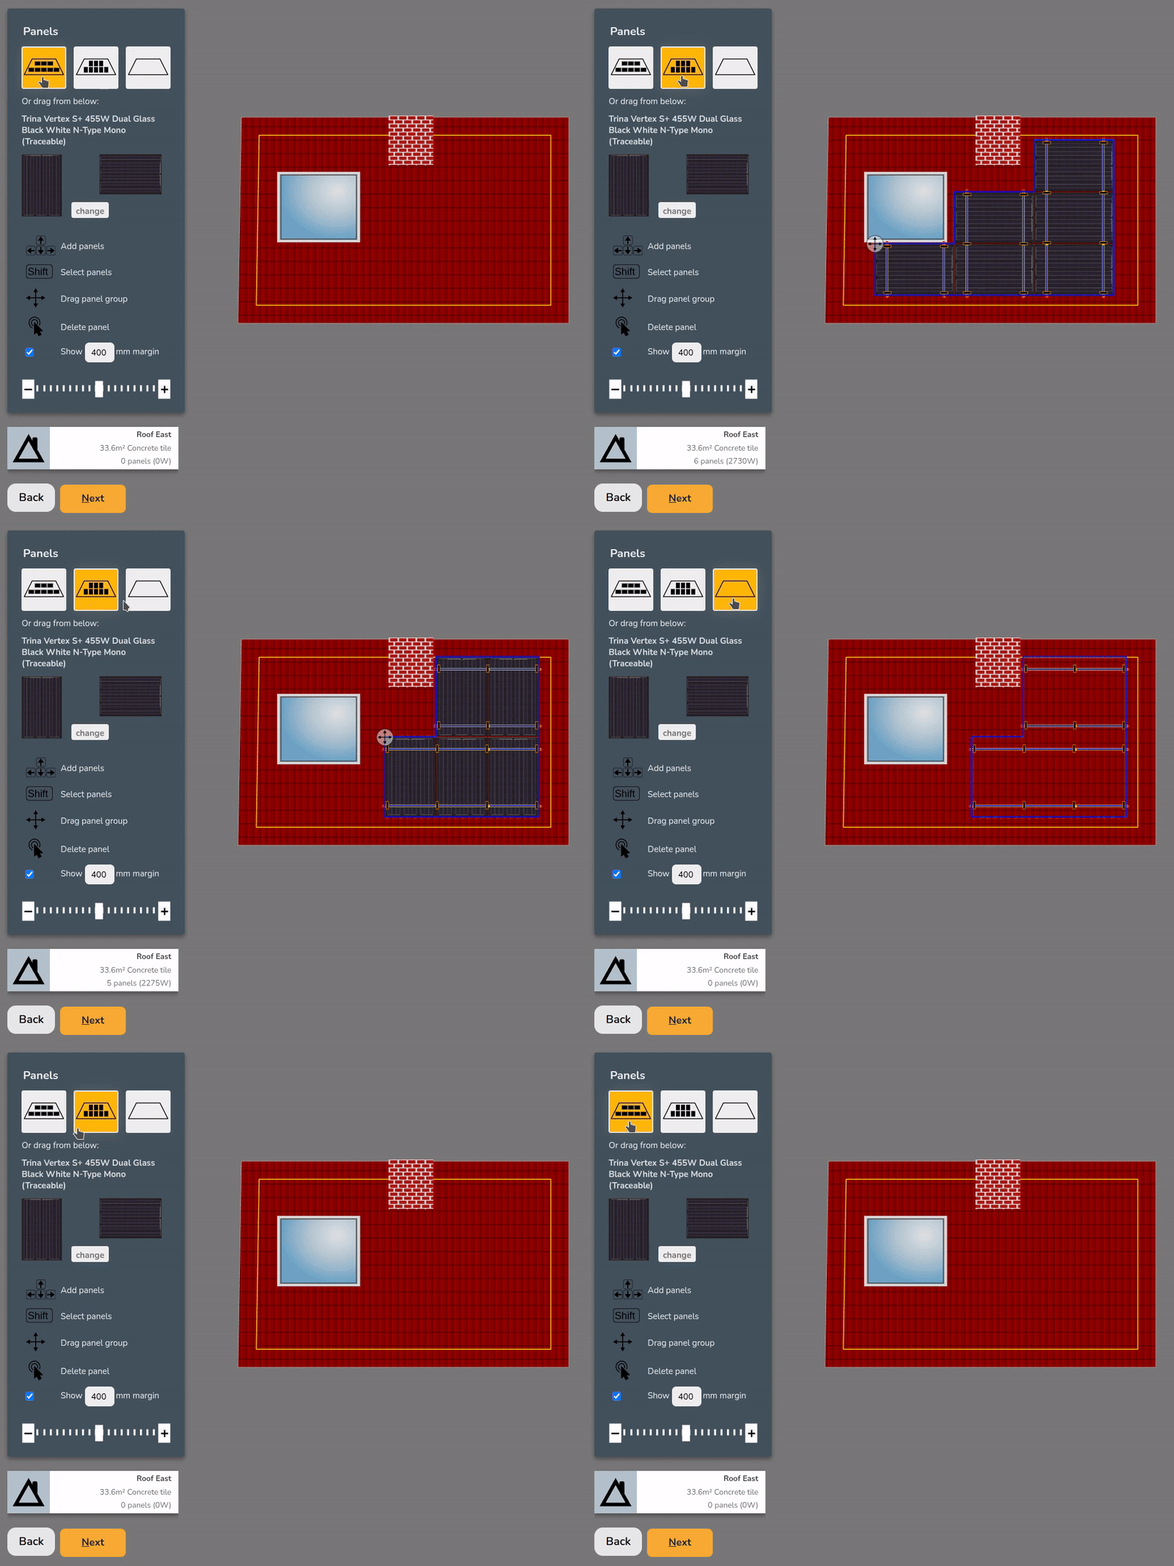
Note: Auto-fill options will avoid obstructions and place as many panels as possible within the configured margin.
Remove panels
To remove panels, you can:
 Double click to remove an individual panel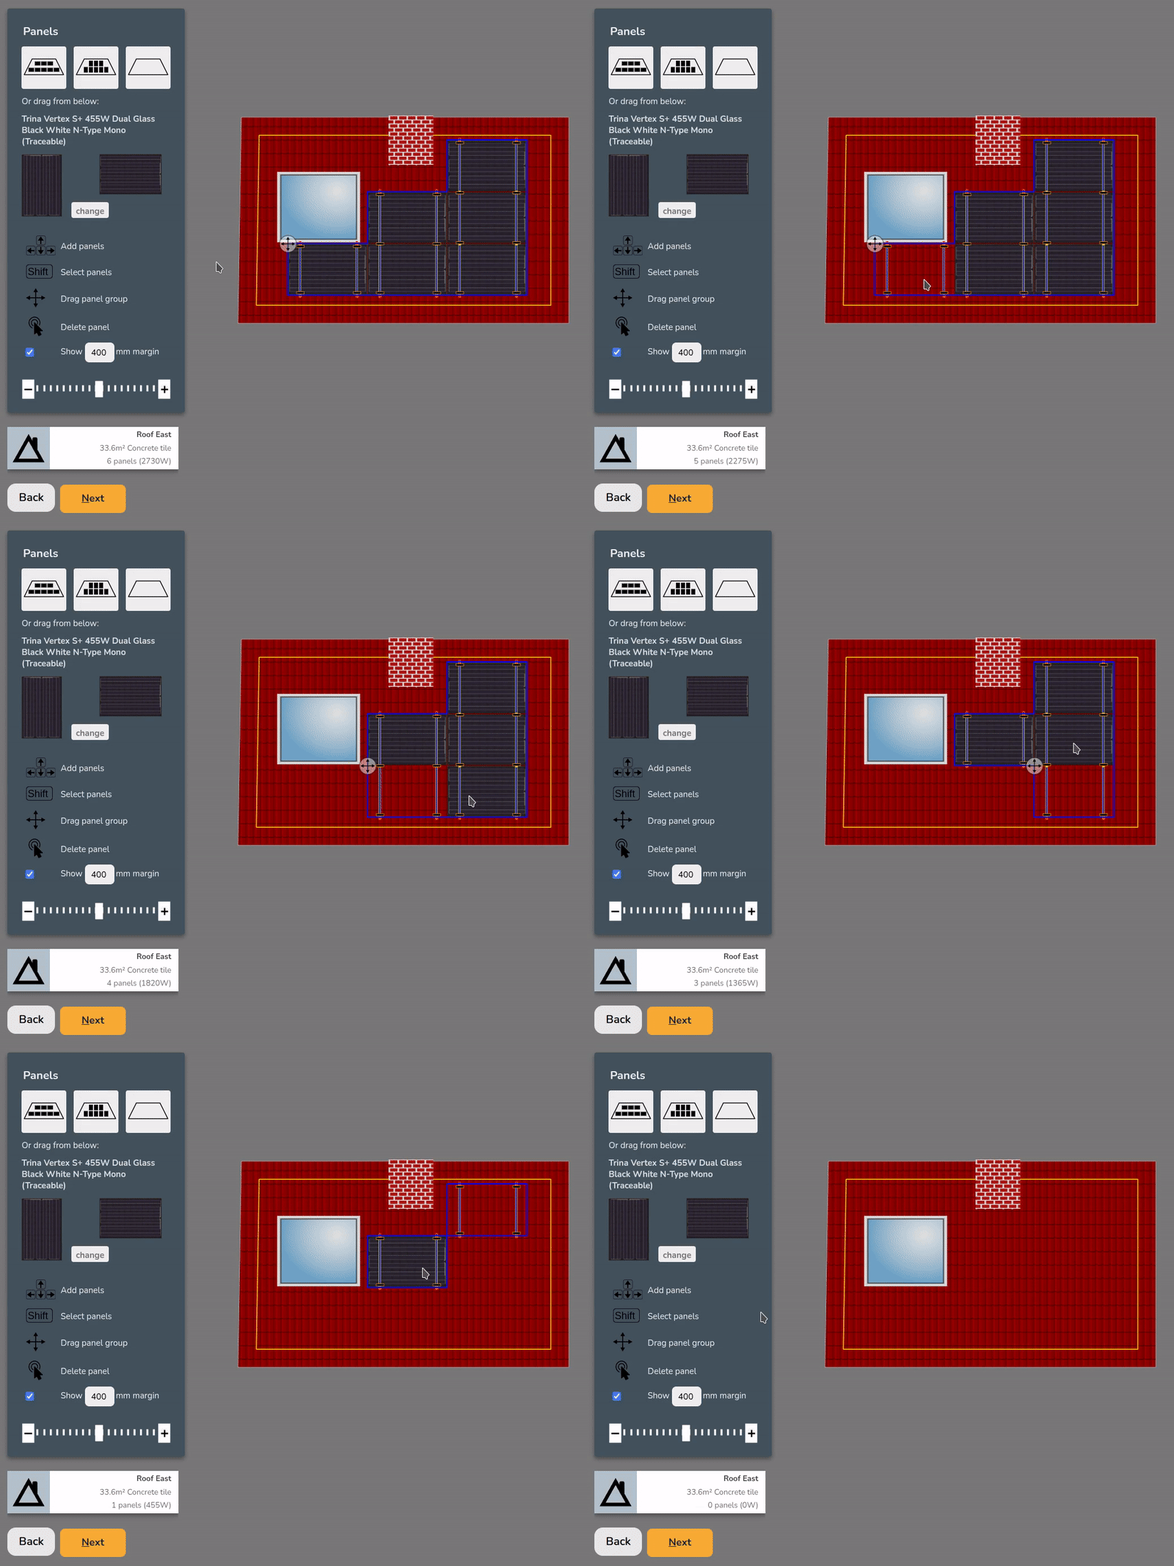
Shift+Click+Dragto select multiple panels andDeleteorBackspaceto remove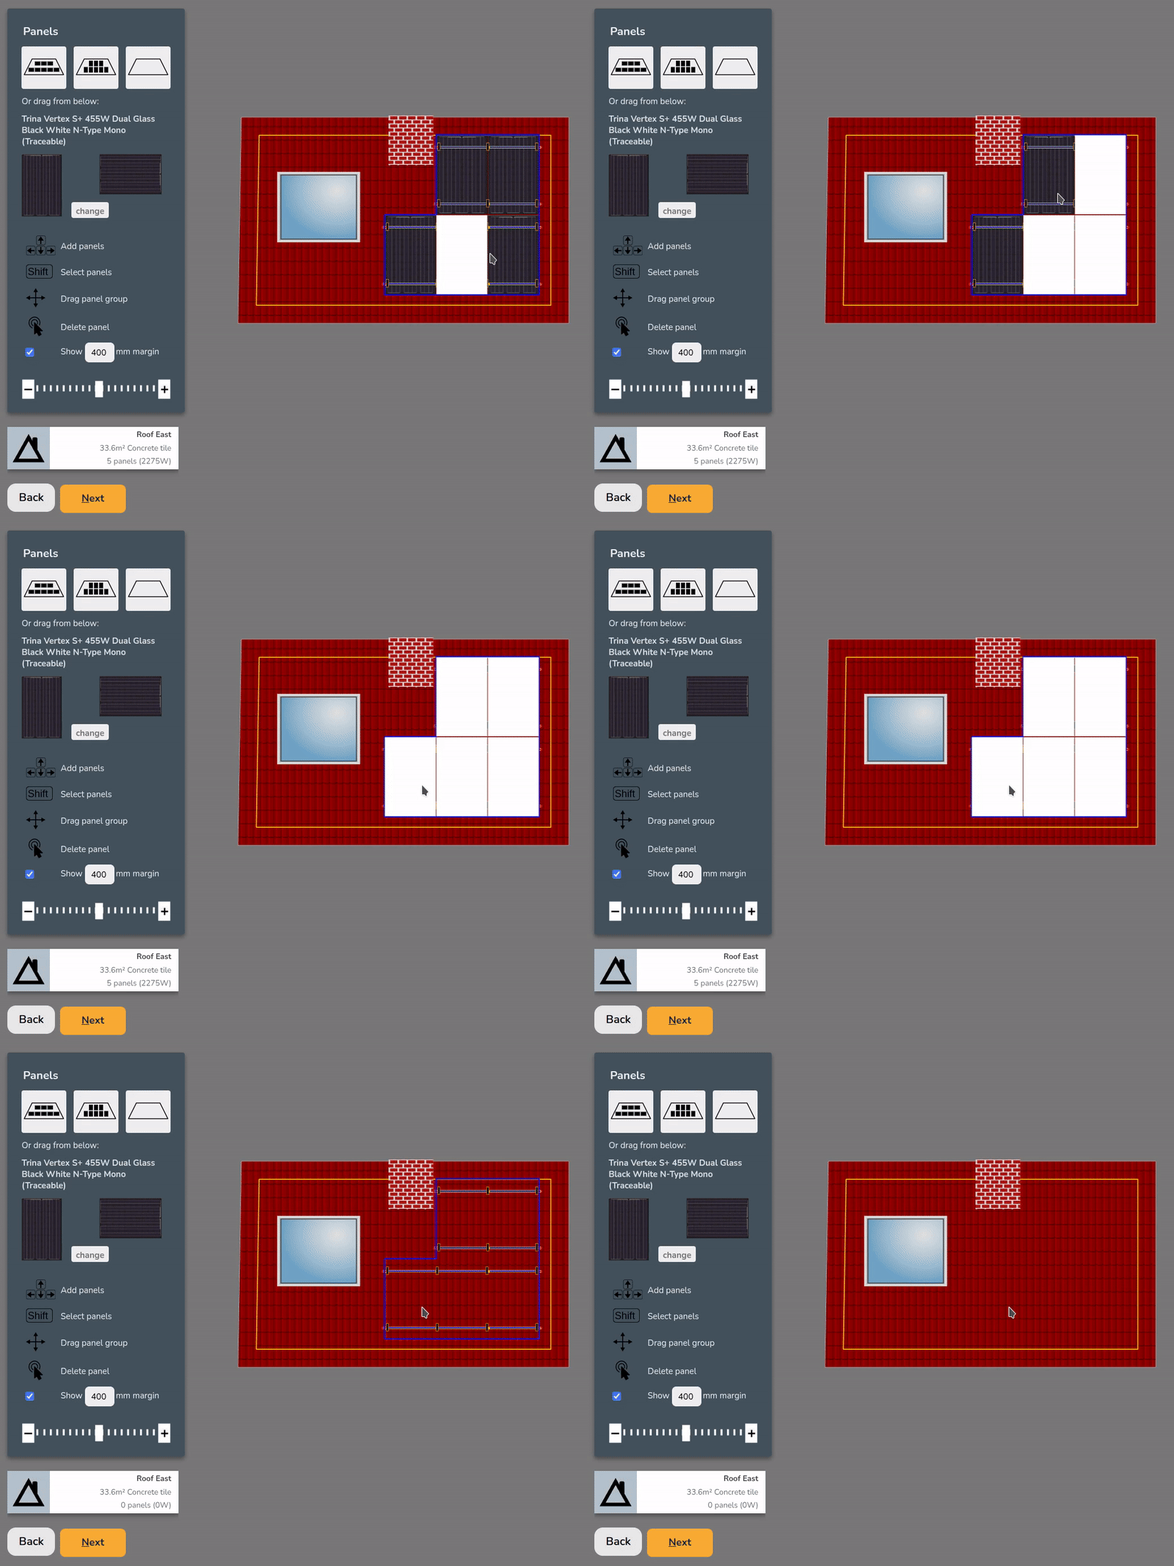
- Click the clear roof option to remove all the panels

Choosing a mounting system
Once the roof has panels on it, you can choose from the available mounting options on the right. The mounting options displayed will be compatible with the roof and panel size and layout.
When selected, Easy PV will specify the necessary mounting components. Depending on the mounting system, you may also have additional options to configure the components further (rail colour, preferred hook, bird blocker etc.).
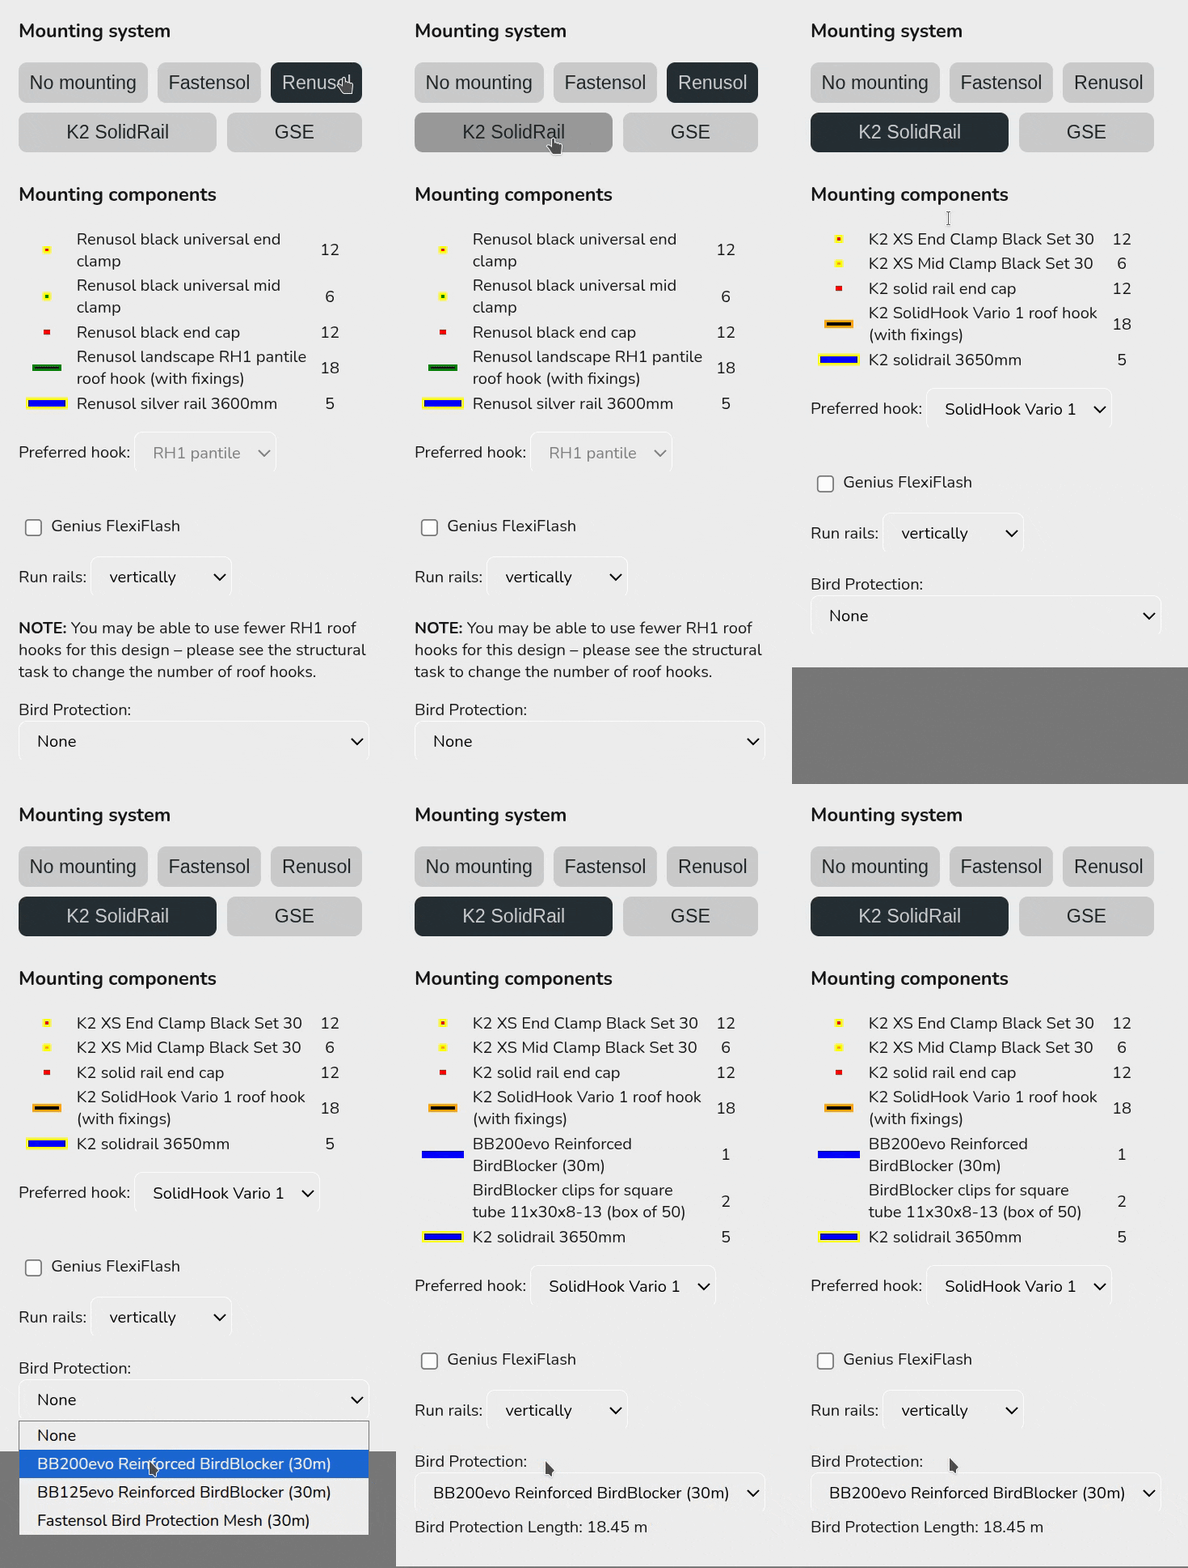
easy-pv.co.ukThis mounting kit list does not take into account structural considerations. Adjustments needed to the number of hooks can be calculated in the structural task (UK only) or otherwise.
If the mounting system you want to use is not available, select No mounting. For flat roofs, you will have additional options to configure the panel layout, including east-west options.
Multiple roofs
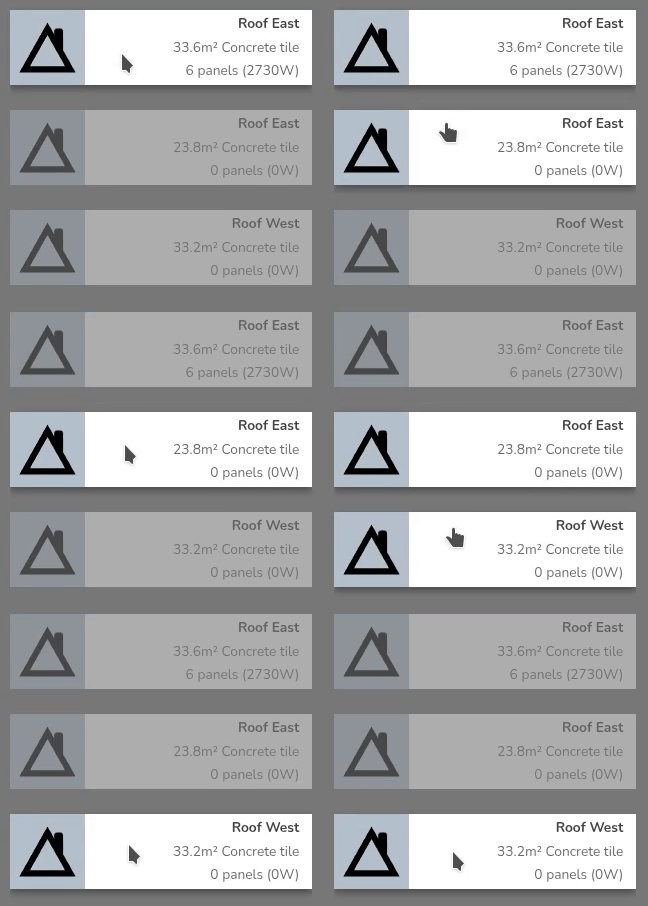
Once all roofs are completed click Next onto the inverter task.
Still Need Help?
Contact Support: If you've got further questions, get in touch with our support team at help@easy-pv.co.uk (UK) or help@easy-pv.ie (IE). If you are experiencing a bug, to help us look into your issue faster, please include the email address of your account, the name of the project and screenshots of any unexpected behaviour.