Pro: DNO Application via Connect Direct
Easy PV Pro’s DNO application feature allows you to effortlessly create and submit a DNO application directly based on your Easy PV design. It will take information from your project to pre-populate some of the fields in a specially designed online form.
Making an Application
It is possible to begin the DNO application form once you have completed the design stage of your project and you have a bill of materials.
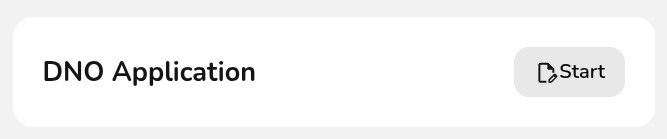
On the Project Overview screen, below the kit list you'll see a DNO Application section, click Start on the right-hand side:
This will then open up the form which you can being filling in. Many of the fields will be completed already, particularly if you've already completed the survey task.
Expand the section below for information on the form sections
DNO form details
DNO form
MPAN number
Firstly you need to fill in the customer’s unique MPAN number. This is the 13 digit unique identifier found on the customer's energy bill.
Once this is filled in, Easy PV will add the correct DNO for that address (this can also be set manually). If your DNO is not listed, you can select "Other/IDNO". Connect Direct will use the MPAN to ensure that the application is sent to the correct DNO.
Customer info
Your customer’s name, address, and contact details along with your own details will be pre-populated here (provided you have entered this data earlier in the design phase). These can also be edited or added here if required.
Device information
Easy PV will also have pre-filled the device type and unique reference number for the component that has been used in your design.
At this point, you need to choose an Installation Date. This date must be in the future, as only pre-installation applications are supported by Connect Direct.
It is then possible to input details of any devices that may already be installed at the customer’s property, for example, an existing AC charger.
Supply details
For the last section ‘Supply Details’, all of these fields will need to be filled in by you as the user if they haven't already been completed in the survey task.
You need to upload a clear image of the 'cut-out' of the electrical supply for the property, something like the image shown here. This image will then be verified and checked automatically, so it will need to be accurate
Once all other fields are completed, click Submit application. This will automatically send the information as a formal application to the designated DNO. You can access your completed application from the Forms drop-down menu at the top of the project.
Status of the application
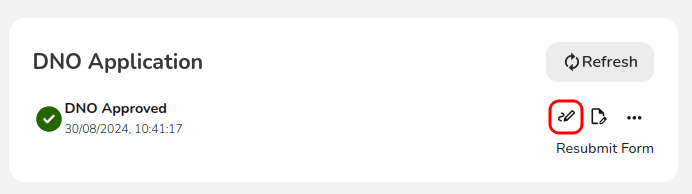
You will receive updates from the DNO directly about whether the application has been rejected or approved. You can also view the status of your application from the project overview screen.
Amending an Application
In most circumstances, an application can't be amended. If you make an error in your application, you should submit a new application.
If your application has already been approved by the DNO, and you have not yet submitted commissioning details, it can be amended. You can do this by visiting the project overview, and clicking the Amend Application button:
This will return you to the application form, where you can change your answers to any of the questions. Please note that the MPAN, Address and Post Code must all remain the same as the original application. Unlike when making a new application, it is allowed for the installation date to be in the past.
Once you have made your amendments, you can press submit application, and the amendment will be sent to the DNO to be reviewed again. You can track the status of the amendment on the project overview page.
Sending Commissioning Details
Once the device has been installed on site, you should submit commissioning information to the DNO. You can do this by visiting the project overview, and clicking the 'Send Commissioning Details' button:

The information required depends on the the size of the application - Easy PV will automatically determine which form to use, based on the information sent in the original application. Simply answer all questions presented to you, and press "submit details". You can track the progress of your submission from the project overview.
Adding Attachments
For larger applications, you must provide a circuit diagram for each power generating module. These can be uploaded from the Project Overview page, using the Upload button:

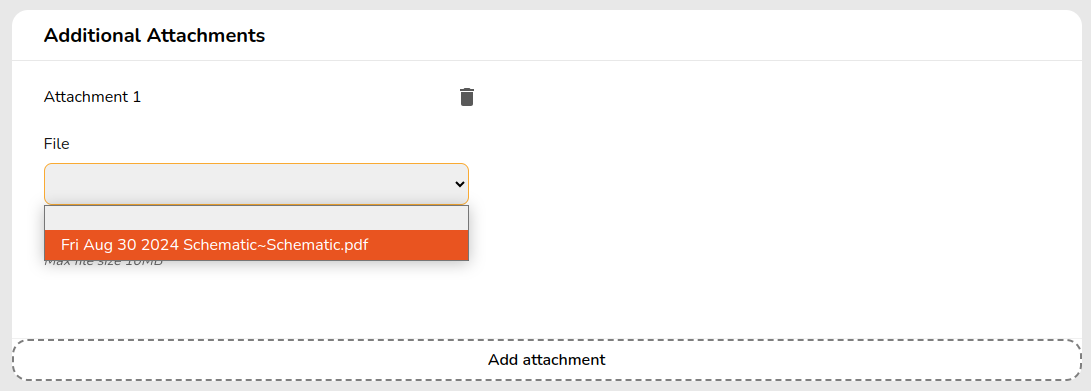
Alternatively, the Schematic tool in Easy PV will automatically generate a circuit diagram based on your design. Make any necessary adjustments to the diagram, and press the PDF button in the schematic task to generate a PDF that can be saved to the project.
Once you have uploaded or saved a file to your project, you should be able to select it from the drop-down, and complete your submission.
Still Need Help?
If you've got further questions, get in touch with our support team at help@easy-pv.co.uk (UK) or help@easy-pv.ie (IE). If you are experiencing a bug, to help us look into your issue faster, please include the email address of your account, the name of the project and screenshots of any unexpected behaviour.