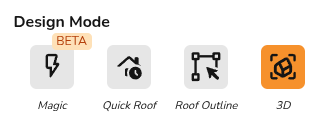
3D designs
[3d intro]
3D design allows you to take into account nearby buildings or trees that may cast shade on the roofs you're working on,on. andEasy this means youPV can dothen complete and automatic shade analysis which saves you time and will leadleads to more accurate projections for your customer.
Starting a 3D project
When creating your project, select the "3D" option.
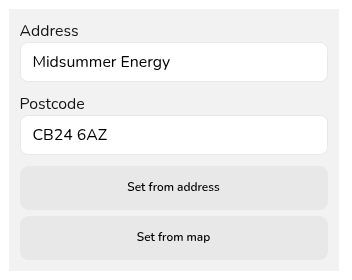
Since 3D mode relies on the satellite map, you must then set the map either by zooming into the right location and selecting set from map or inputting the address and clicking set from address.
You can then click create and start your 3D design.
IntroductionOverview of 3D design
There are three views you can use to accurately complete your design in 3D:
- Plan: This is a top down satellite view of the property.
- Drag and drop buildings and obstructions from the left-side menu and align with the satellite map.
- Click in the corners to view and edit dimensions - note that all dimensions are all top-down. Use elevations view for pitched dimensions.
- Where available this will load with a property boundary.
- 3D: 3D view of the model.
- Useful to check elevations are correct.
- Expand 3D view to view full shading model.
- Elevations: View of heights and pitched dimensions.
- Click on a building, extension or obstruction in the plan view to display heights and pitched dimensions.
- Adjust dimensions by dragging or input directly by clicking on value.
Orthorectified and standard map imagery
When designing atop the satellite map, you have two choices of which map data to use:
- Orthorectified: Uses geometrically corrected satellite data to give more accurate dimensions.
- Standard: Uses raw satellite data. Dimensions may be distorted, particularly for sloped structures.
If you are relying on the satellite map for dimensions, then orthorectified is the recommended option. We cannot guarantee the accuracy of the dimensions when using the standard imagery.
[video]
Selecting roofs to use
OurOnce 3Dyou editorhave completed your design, click Next. A menu will then pop up showing the selectable roofs.
- Easy PV will automatically select the roofs it thinks are most suitable based on the size, pitch and orientation.
- If a property boundary is
aincluded,"dragonly roofs within this property boundary will display - remove or edit the property boundary if roofs you modelled are missing. - Select or de-select and
drop"roofssystem. Inusing theleft-handcheckboxpanelonyou'lltheseeright.an - Place
ofcursorroofs,overextensions,roofsandtoobstructions.highlightThere are a variety of pre-made common roof shapes, but you can also use anirregular buildingif needed which you'll findthem in themiscellaneousmapsection.Obstructions such as chimneys, roof lights, and vent can also be found in that section. If at any point you're unsure what an icon is, you can hover over it with your cursor to see a description of whaton theelementleft.is.
[video]
Automatic shade analysis
Examples
TheJoin generalour steps involved in adedicated 3D design are:training session for more
Click and hold on the roof type that you need.Drag it over to the map image and release.Rotate to align with satellite mapAdjust dimensions in plans and elevations to correctly size the roof.Model any obstructions on the roof or on surrounding buildings.
If you're struggling with getting your properties drawn up in Easy PV, please book onto one of our free weekly training sessions where we will be able to give you more in-depth advice.