3D designs
[3d intro]
3D design allows you to take into account nearby buildings or trees that may cast shade on the roofs you're working on, and this means you can do automatic shade analysis and will lead to more accurate projections for your customer.
Starting a 3D project
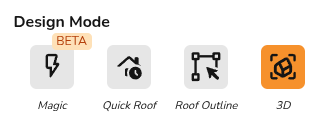
When creating your project, select the "3D" option.
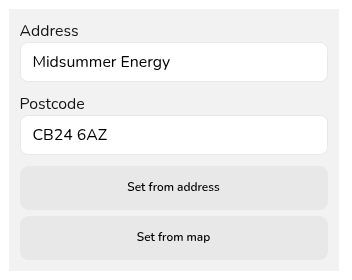
Since 3D mode relies on the satellite map, you must then set the map either by zooming into the right location and selecting set from map or inputting the address and clicking set from address.
You can then click create and start your 3D design.
Introduction to 3D
[video]
Our 3D editor is a "drag and drop" system. In the left-hand panel you'll see an array of roofs, extensions, and obstructions. There are a variety of pre-made common roof shapes, but you can also use an irregular building if needed which you'll find in the miscellaneous section.
Obstructions such as chimneys, roof lights, and vent can also be found in that section. If at any point you're unsure what an icon is, you can hover over it with your cursor to see a description of what the element is.
The general steps involved in a 3D design are:
- Click and hold on the roof type that you need.
- Drag it over to the map image and release.
- Rotate to align with satellite map
- Adjust dimensions in plans and elevations to correctly size the roof.
- Model any obstructions on the roof or on surrounding buildings.
If you're struggling with getting your properties drawn up in Easy PV, please book onto one of our free weekly training sessions where we will be able to give you more in-depth advice.