Embedding Speedy PV into your Website
Speedy PV is a lead-generation tool that can be embedded into your website. It allows your customers to get a speedy estimate of how suitable their property is for solar installation, and an indicative price. These leads are linked directly to your Easy PV Pro account so that they can be turned into projects.
In order to embed Speedy PV into your website, firstly sign into to your account on Easy PV. Make sure you have the Speedy PV configuration dashboard enabled in your Pro Account Settings. For detailed instruction on how to do this, please see Setting Up Speedy PV.
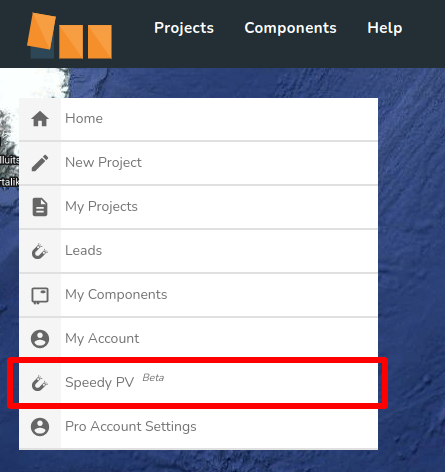
Click the Speedy PV Beta button in the left-hand menu, and then click the Go Live tab.
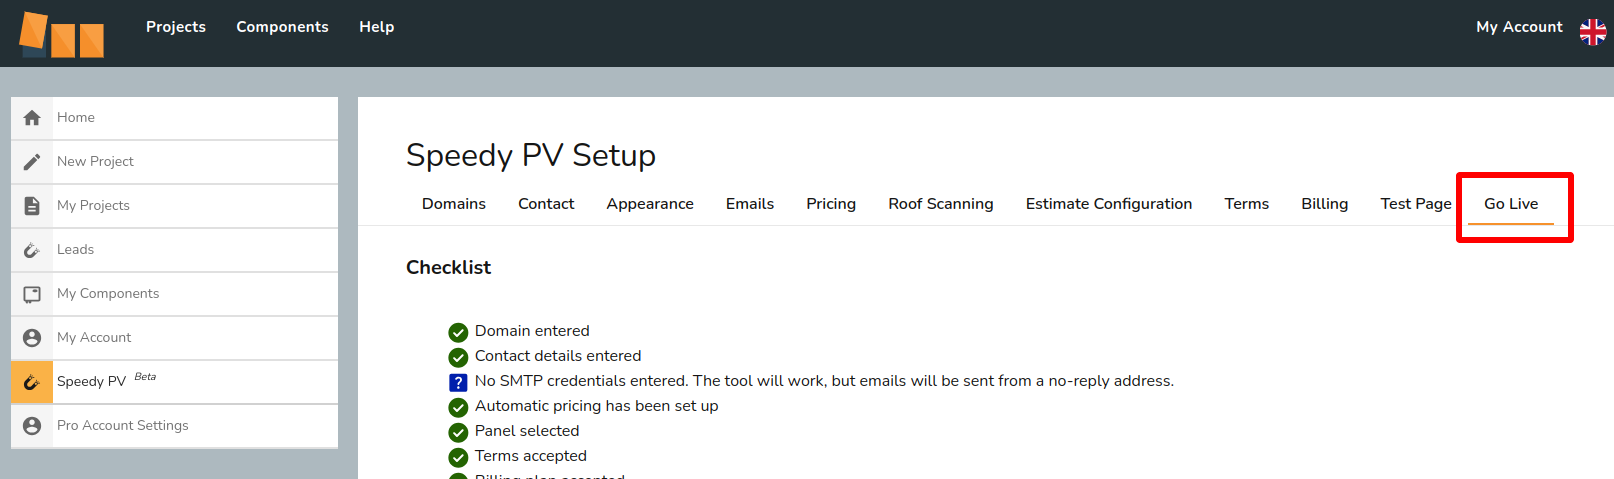
Next, check that the Checklist at the top of the tab is showing all green ticks, and no red crosses. If you see any red crosses in the list, make sure you check the corresponding sections in the other menu tabs and fill out any necessary fields - see our Setting Up Speedy PV guide for more information.
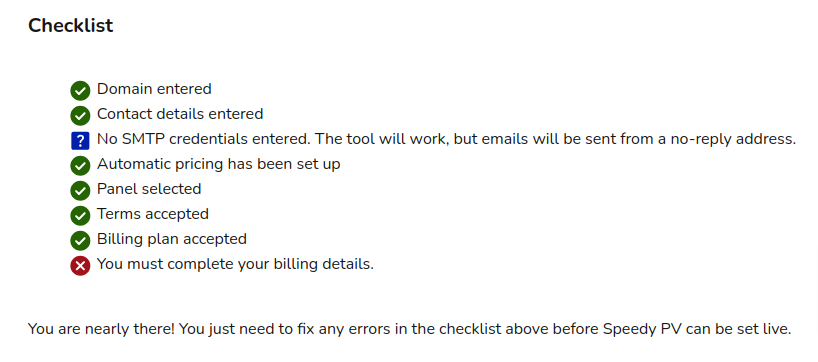
If the SMTP credentials has a (?) question mark symbol next to it, then you can still proceed with embedding Speedy PV into your website. Just bear in mind that the emails generated by the tool will be sent from a no-reply email address, instead of one of your company’s addresses.
We recommend setting up the SMTP credentials to make it easier for the potential customers to contact you about leads generated by the tool.
Then, you’ll need to make sure you have Speedy PV enabled, by toggling the Enable Speedy PV in your Go Live tab, just below the checklist.

Next, you’ll need to edit the HTML code in your website to include the HTML tags that are generated in the Go Live tab. If you use a website building software such as Wix or Squarespace for your website, then you’ll need to follow instructions specific to that site in order to embed the HTML. Please see the sections further down for more help with this.
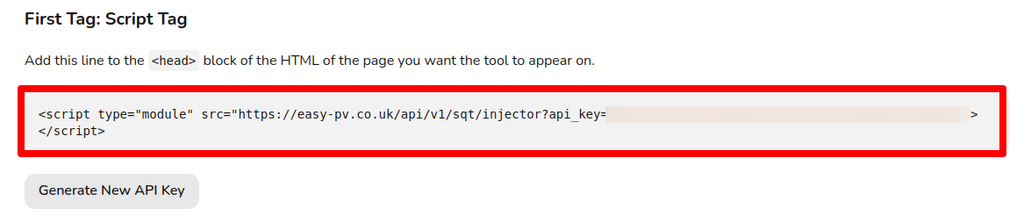
Your <script> tag should contain an API key written in orange text - it’s blurred out here but it looks like a random string of numbers and letters. If not, you can click generate new API key to generate a new one. Note: if you generate a new API key, any existing embeds will no longer work and will need updating to the new key.

You’ll need to insert the <script> tag into the header, i.e. between the <head> and </head> tags in the HTML of the page you’d like it to appear on. The <div> tag will determine where in the page Speedy PV will appear, so will need to be placed between the <body> and </body> tags. So for example, your HTML might look something like this once you’ve inserted both tags:
<!DOCTYPE html>
<html lang="en">
<head>
    <meta charset="UTF-8">
    <meta name="viewport" content="width=device-width, initial-scale=1.0">
    <title>SunMax</title>

    <script type="module" src="https://easy-pv.co.uk/api/v1/sqt/injector?api_key=yourAPIkeyHere"></script>

</head>
<body>
    <h1>Welcome to SunMax</h1>
    <p>At SunMax, we specialize in providing top-quality solar panel installation services to help you harness the power of the sun. Contact us today to learn more about how solar energy can benefit your home or business!</p>
    <h2>Get an instant estimate with this easy-to-use tool!</h2>

    <div id="sqt-container"></div>

    # no doubt you will have much more page content than this!
</body>
</html>
That’s all you need to do! Speedy PV will now be visible on your webpage and ready to generate leads for your company.
Speedy PV already has a very high z-index so be wary of putting it inside a container with a lower one. The other elements on your site might start overlapping Speedy PV for mobile users.
Embedding with Wix
Wix allows you to embed code snippets into your website directly through the advanced settings.
Firstly, you’ll need to navigate to your website’s dashboard, then scroll down in the left-hand menu to Settings. Scroll to the bottom of the Settings page to the Advanced section where you should see Custom code.
Click on Custom code and then you’re greeted with three sections titled Head, Body - Start, and Body - End. You’ll need to click Add code under the Head section and insert the <script> tag from Easy PV in there. Delete the type="module" part of the code snippet highlighted below.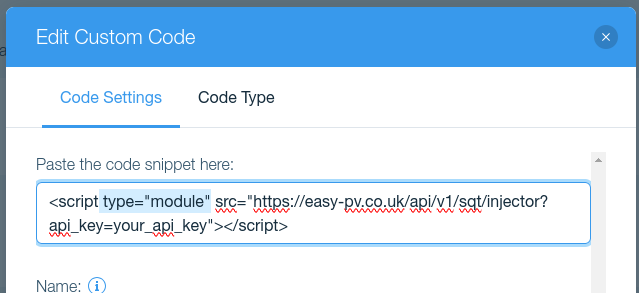 You’ll be prompted to choose whether you want it to appear on all pages, or specific pages: choose Choose specific pages and then select the page(s) you want the tool to appear on from the dropdown options.
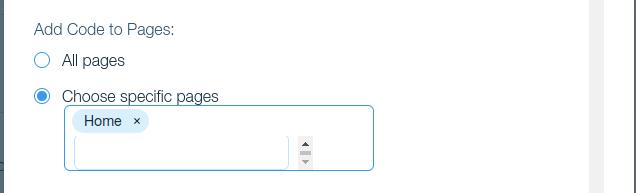 Then click Apply. For more help, you can visit the Wix Help Center page about adding custom code.
Then, you’ll need to go back into your editor, and find the page you’d like the tool to appear on. Then, click Add Elements, click Embed Code, click Popular Embeds, and click Custom Element (note: you may need to have a premium Wix membership to use Custom Elements). On this element, click Choose source, select Velo file (you may need to enable Dev mode at the top of the Wix window to do this), select Create new and then in the bottom panel where the code appears, delete all the contents of the Velo file for that element (the file might be called wix-default-custom-element.js).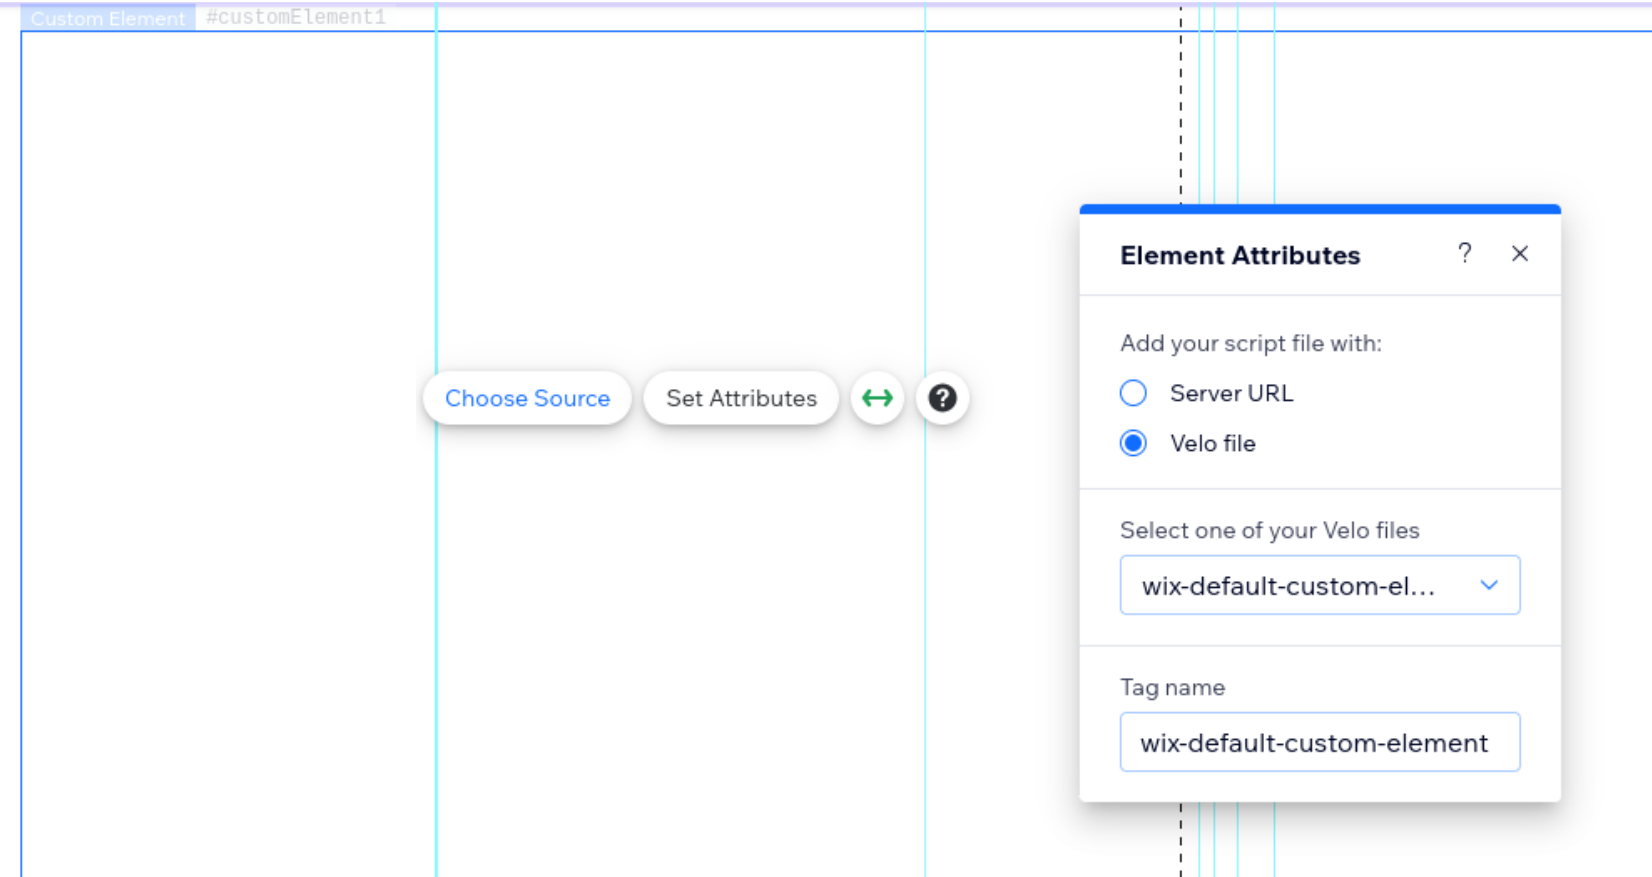 Back on the custom element, click Set attributes, and add an attributes with the name "id" and value "sqt-container".
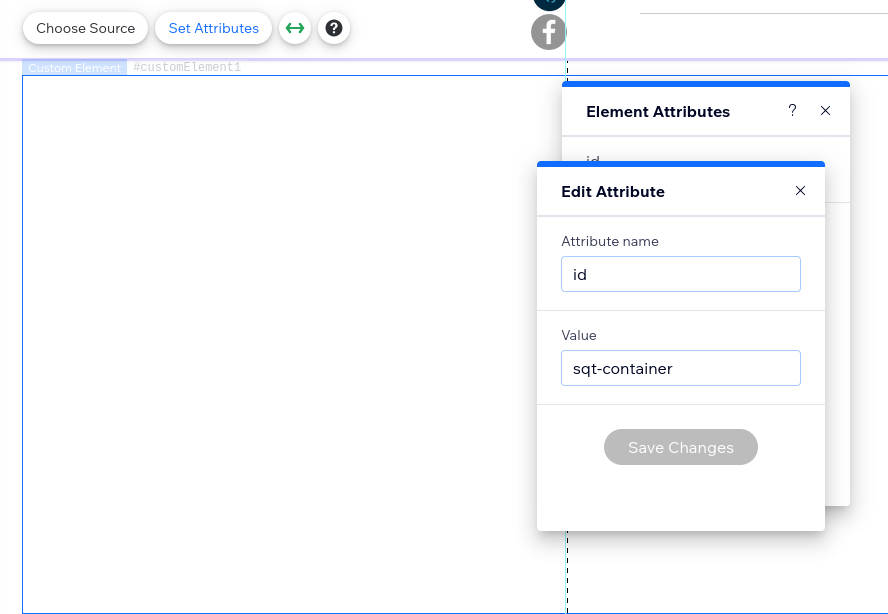 On the custom element, under Stretch (arrow icon pointing left and right), turn on the Stretch to full width option on, so the tool uses all the available space. Then, save your changes and publish your site. For more detailed instructions, you can visit the Wix Help Center page about custom elements.
That should be it! You should now be able to see the Speedy PV in your webpage!
Embedding with Squarespace
Squarespace also allows you to embed custom code snippets into your website directly through their editor.
Firstly you’ll need to hover over the page you want Speedy PV to appear on in the Pages panel. Then click the cog icon to enter the settings. Click Advanced, there should be an option called Page Header Code Injection where you’ll need to add the <script> tag from Easy PV so that it gets inserted into the header section. Once you’ve added it, make sure you click Save.
Note: Squarespace’s help page advises that “the code won’t appear if you turn off your site header’s transparency” in version 7.1. Please see their help page for more detailed information.
Then, you’ll need to go to the Pages panel again, and select the page you want Speedy PV to appear on. Click Edit in the top-left corner, and then hover over the section where you want the tool to be and click Add Block in the top-left corner. In the menu, click Code from the types of blocks, and the block will appear on your page with a placeholder inside. Click the pencil icon to edit the block contents, and replace the placeholder with the <div> tag from Easy PV. Make sure you select HTML in the Type menu so that it displays correctly on your page! If you need more detailed information, please see the Squarespace Help Center page.
That’s all! You should now be able to see the Speedy PV in your webpage!
Embedding with WordPress
WordPress allows embedding of custom code content through the use of a free plugin called Insert Headers and Footers by WPCode. We can’t directly provide support for the installation and activation of the plugin, but here are the steps you’ll need to take after doing so.
In the WordPress admin menu bar, you should navigate to Code Snippets and then click Header and Footer. Paste the <script> tag from Easy PV into the Header text box, and then click the Save Changes button.
Next, you’ll need to return to the Code Snippets section, and click Add New. Then, click Add your custom code (new snippet) and choose HTML from the Code Type dropdown menu. Name the code snippet something appropriate like Speedy PV, and then paste the <div> tag into the Code preview area. Click Save snippet when you’re done, and scroll down to the Insertion section below. Then, you can choose to use Auto Insert or Shortcode. If you choose Auto Insert, you’ll be asked to choose whether it runs on every page, or only on specific page(s). Shortcode will generate a shortcode for it which you’re then able to manually paste into any page(s) you want. When you’ve decided on a method, make sure you activate the snippet by clicking the Active/Inactive toggle in the top right corner. If you need further information, please consult the WPCode help pages.
You should now be able to see the Speedy PV in your webpage!
Embedding with GoDaddy
On GoDaddy's website builder, you can add custom HTML code by adding an HTML Section.
You can follow GoDaddy's own instructions for creating one of these sections on their help page here:
https://www.godaddy.com/en-uk/help/add-html-or-custom-code-to-my-site-27252
The code you'll need to add in the Custom Code field of that HTML Section can be copied from the "Go Live" tab of the Speedy PV Setup pages on Easy PV. You will need to copy both the code snippets from that page into the Custom Code field.
It will look like this, but with your API key in the script tag:
<div id="sqt-container"></div>
<script type="module" src="https://easy-pv.co.uk/api/v1/sqt/injector?api_key=YOUR_API_KEY"></script>
Once you save and Publish your site, Speedy PV should be visible!
If you use a different website creation service that we haven’t covered here and need some guidance, or you have any further questions, feel free to get in touch at help@easy-pv.co.uk.