Pro: Emailing
This guide applies to the pro versions of Easy PV
With pro, you have the option to send emails without needing to leave Easy PV.
Sending emails in Easy PV
Emails can be sent from the templates in the project overview or from within individual documents.
If you'd like to send a document for e-signing, these must be sent from within individual documents.
Emails from the project overview
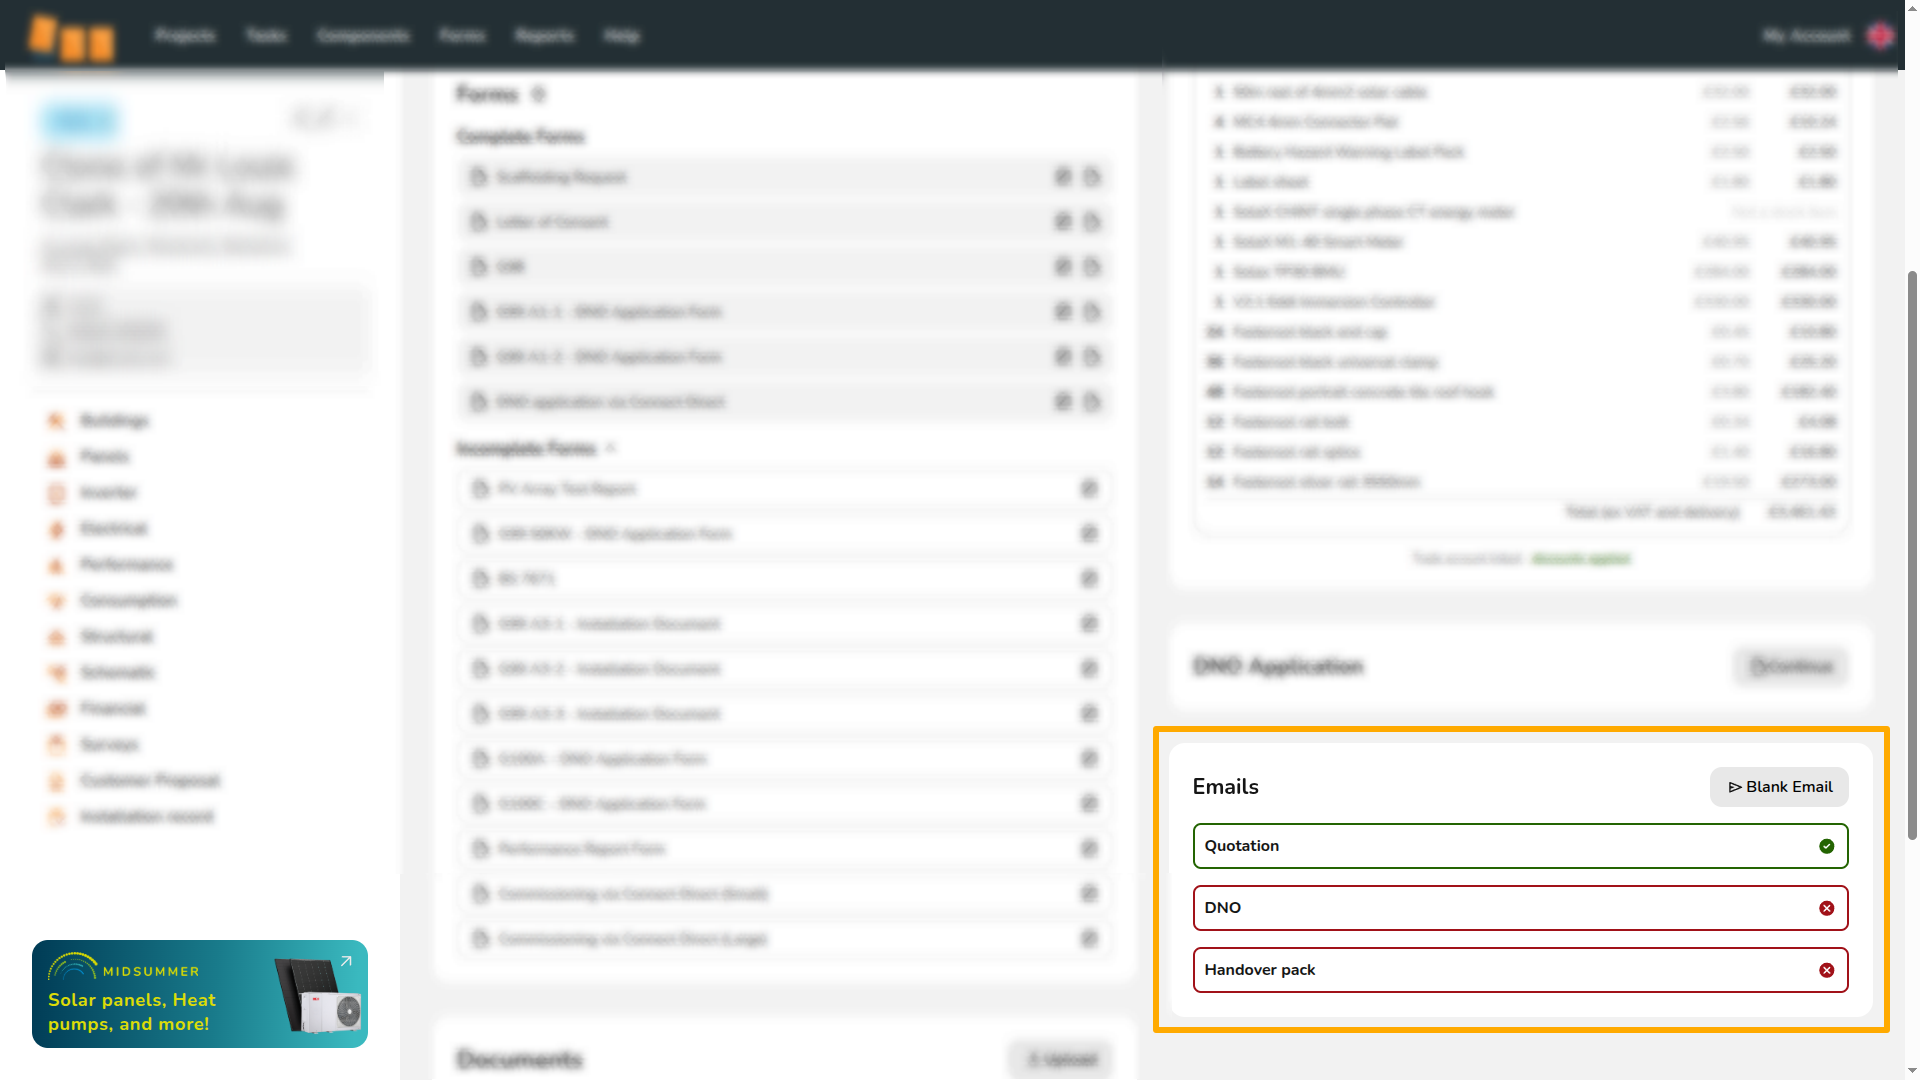
You can access the email management section via the project overview. Here you can keep track of emails that have been sent. Emails that have not yet been sent will be outlined in red with a cross. Once you have sent an email, it will be outlined in green with a tick.
To send emails from this section just click on the one you'd like to send or 'blank email' and follow the steps below.
Emails for e-signing
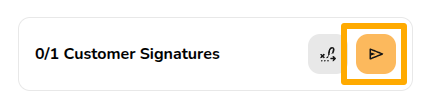
Documents that can be sent for e-signing will display this in the document form:

When you generate the PDF, you will then see the option in the bottom left to send the e-signing link as an email:
Read here for more information on e-signing.
Editing and sending an email
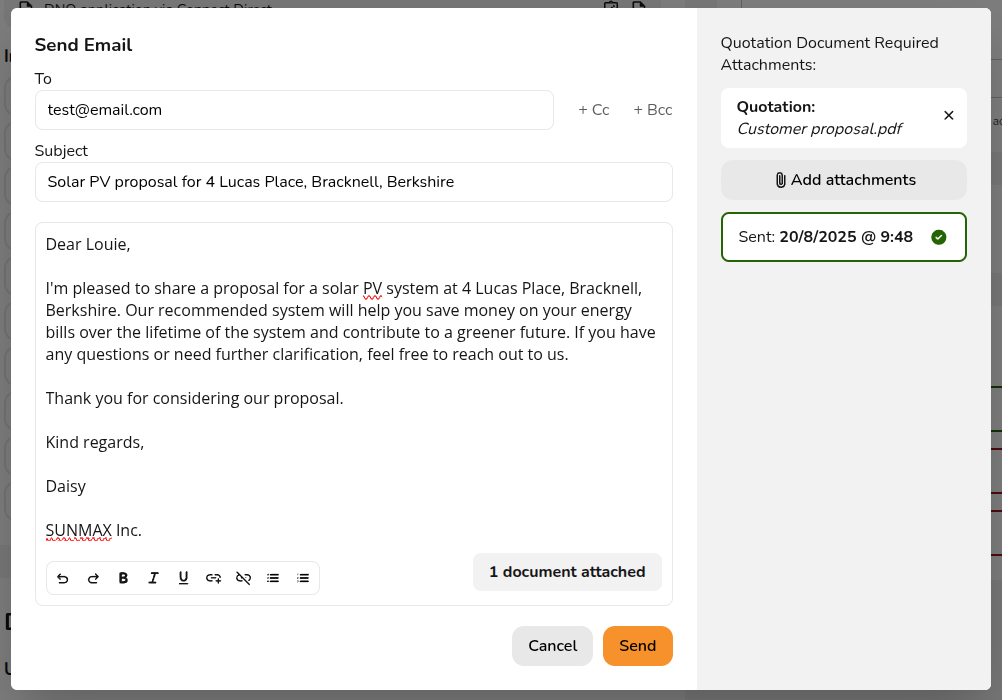
When you select one of the options detailed above, it will open an email window like the one shown below. If you have filled in the customer's email in the project details, this will automatically populate in the 'To' field.
The quotation will be automatically attached to the email if it was saved to the file management section. You can add other attachments and then click Send when you are ready to send.
After you have sent the email, you will see on the left of the email the date and time that it was sent with a green tick.
Adding additional attachments
You can add additional files to the email by clicking Add attachments. Please note you will only be able to upload files you previously uploaded or saved to the file management section or component management section.
Sending emails from your domain
By default, emails in Easy PV will send from a no reply address but these can be set up to send from your email address.