Survey task
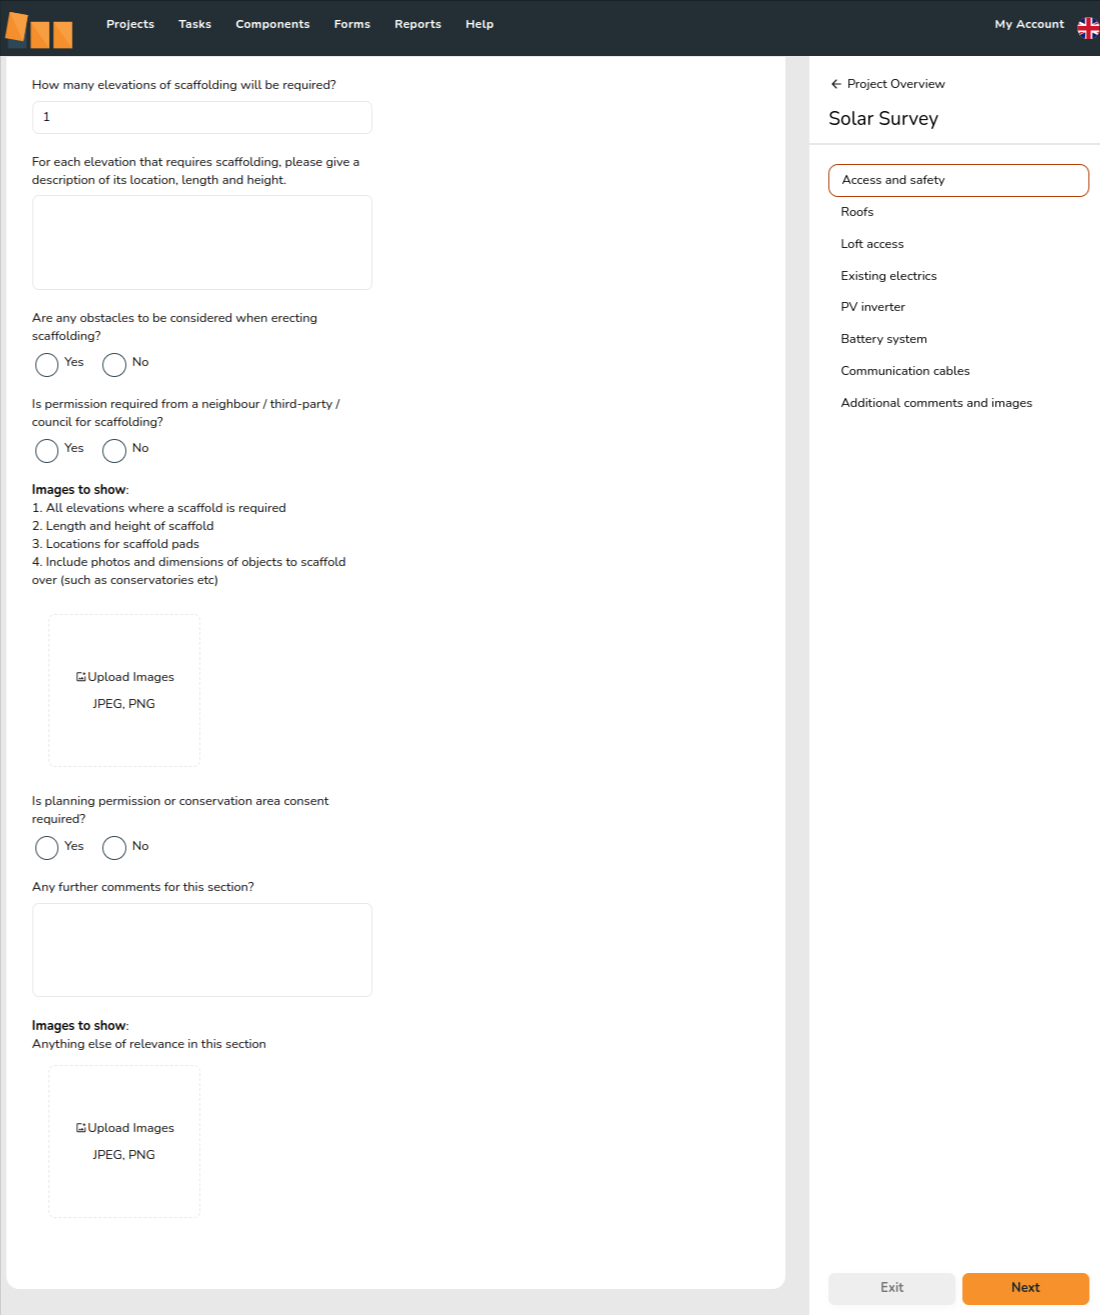
The survey task allows the surveyor to enter all information required to plan out the installation in one location. Surveyors can answer the questions and add additional comments. They can also upload images and apply image annotations. A PDF report of the survey can be generated from the reports drop-down in the main navigation.
Accessing the survey task
From any project, click on the Tasks option in the main navigation menu, then select Surveys.
Filling out a survey
The survey is divided into sections that can be viewed and navigated between using the right-hand menu.
Uploading an image
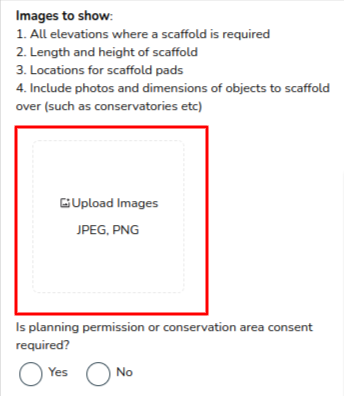
There are various places throughout the survey where pictures can be uploaded and annotated. Click on the Upload Images box and it will bring up the option to upload a picture from your files. If you are on a mobile or tablet device it will give you the option to take a photo. You can repeat this step to add multiple images.
Adding annotations to your images
Once the file has been uploaded, you can click on the picture to bring up the annotation options.
-
Use the bin button to delete annotations or the whole image.
-
The cursor lets you select annotations you have added to the image.
-
The pencil allows you to draw or write free-form.
-
The ‘T’ is used to create a text box.
-
The arrow lets you draw an arrow.
-
The colour box is where you can change the colour of annotations.
-
The tick mark saves your annotations and exits the annotations editor.
Accessing your survey as a PDF report
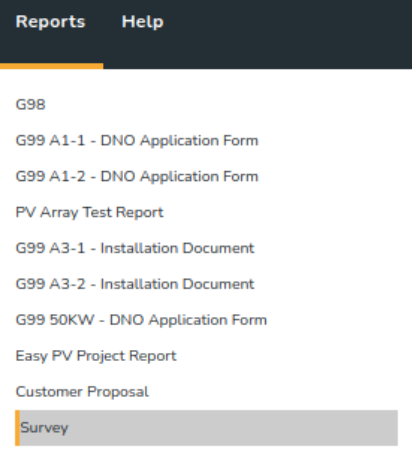
After the survey is complete, the report can be found in the ‘Reports’ drop-down. Annotated images, question responses, and an image of the roof layout will be carried forward to the survey report.
|
Important: .heic files (usually from mobile devices) are not supported at this time. If your phone, tablet, or camera is set to save pictures in this file format, please change this to save .jpg files in settings. |


