
Irregular Buildings in 3D design mode
The irregular building tool allows you to create unusual roof shapes that cannot be modelled using the standard roof options.
Using irregular building tool
The irregular building tool can be found at the bottom of the Misc. section on the 3D left side-bar.
When creating a roof using the irregular building tool, there are a variety of additional handles you can use to accurately adjust the shape of the roof:
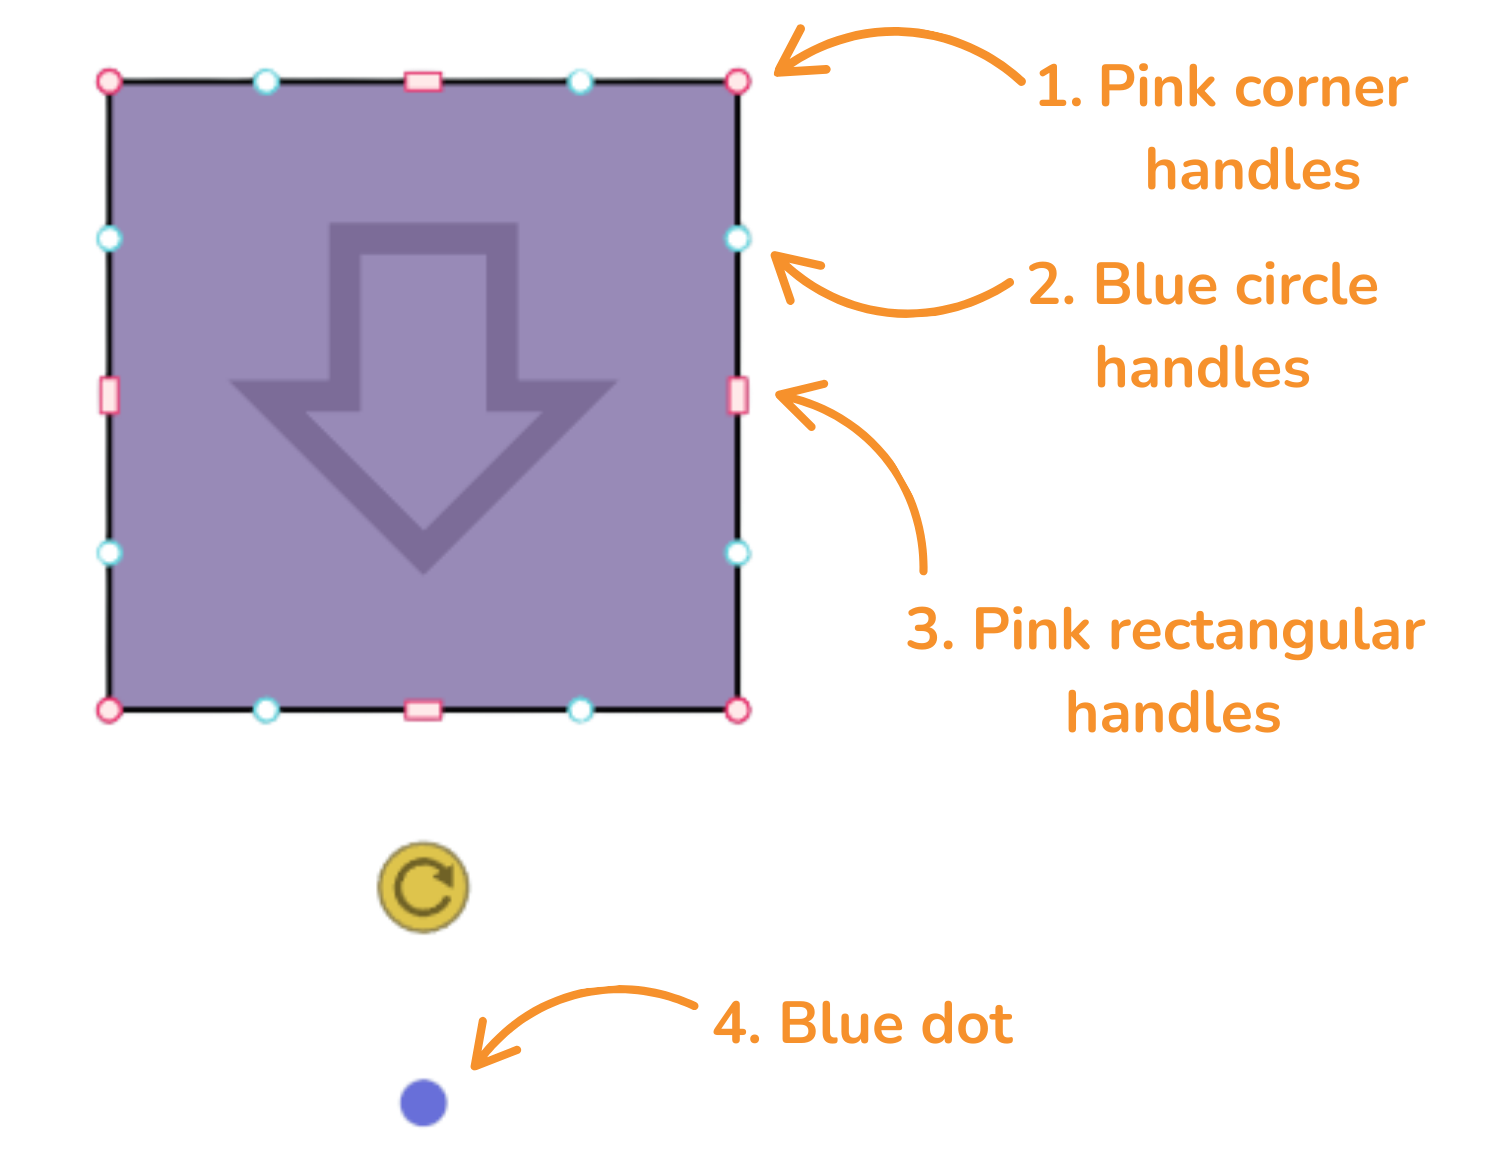
1. Pink corner handles
Click the pink corner handles to show dimensions of the associated roof sides. You can then click on the values to manually change these.
Click on the pink corner handles to use the following options:
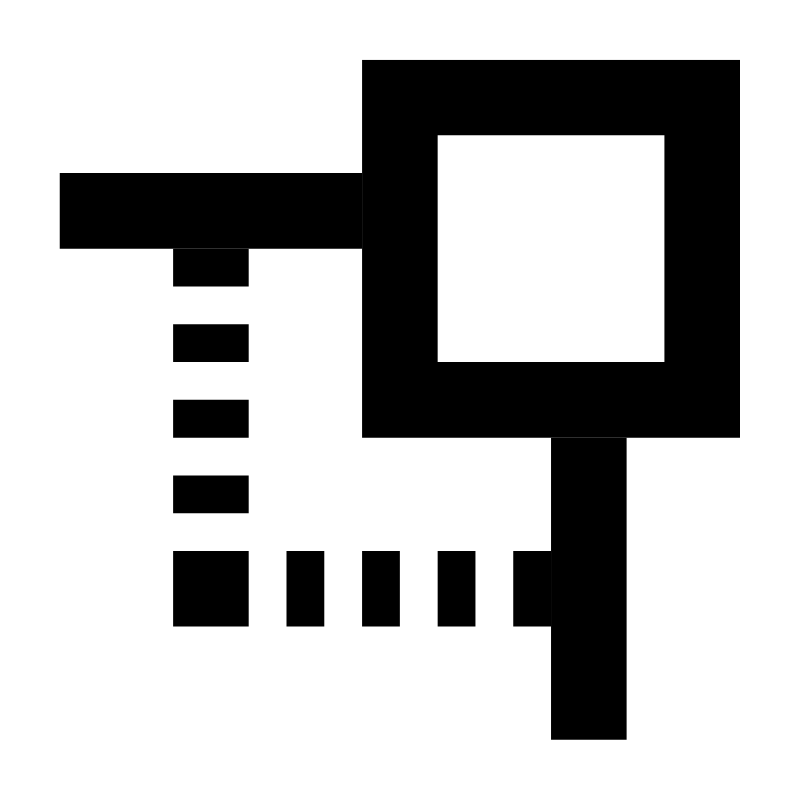 | Square corner Use to resize the roof whilst keeping the adjacent sides at the same angle 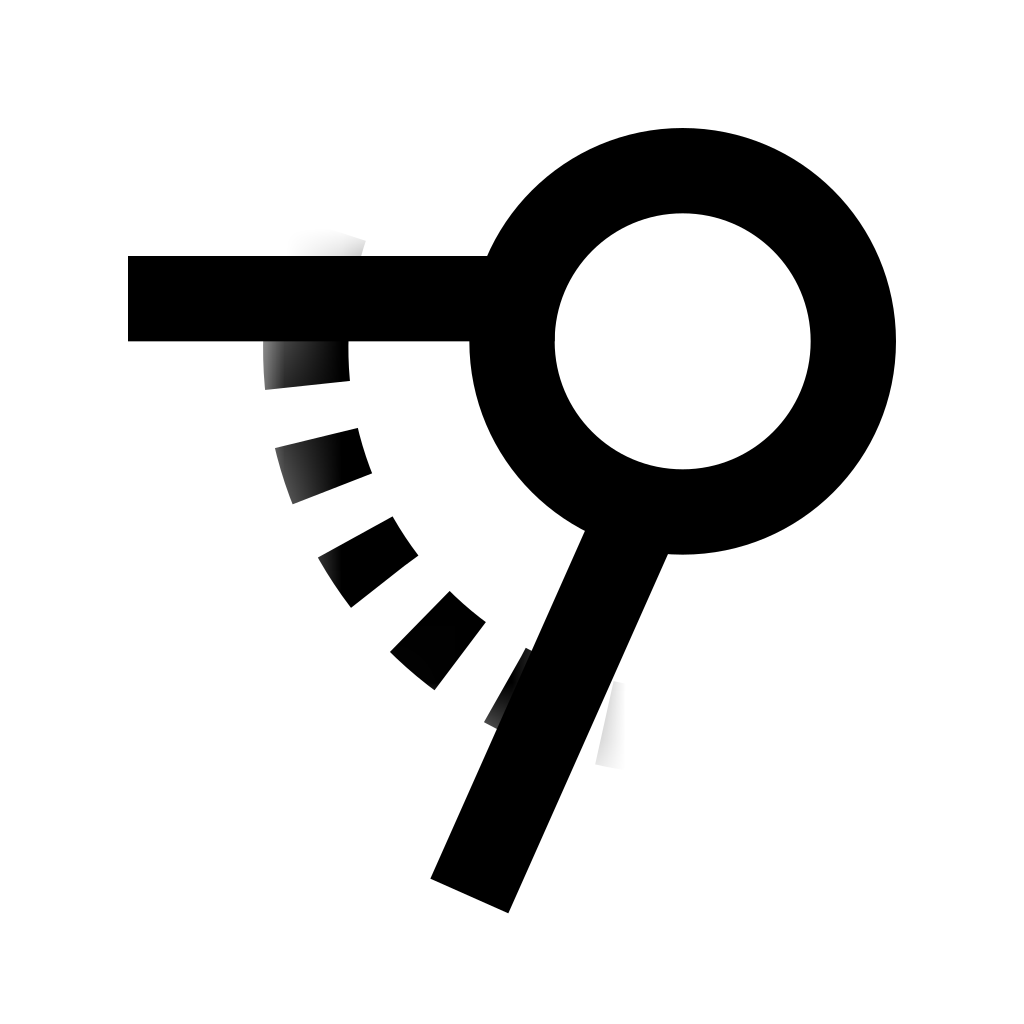 |
| Circle corner Use to move that point independently of the other points to create angled sides.  |
|
Delete the corner. This option is only available if there are 4 or more corners on a |
See Example 1.
2. Blue circle handles
Click and drag the blue circle handles to allow you to split a side and create irregular shapes.
These will then convert to pink handles which you can delete if needed.
See Example 2.
3. Pink rectangular handles
Use the rectangular handle to resize the roof. Click on the pink rectangular handles to toggle between a square and curved cornered handles:
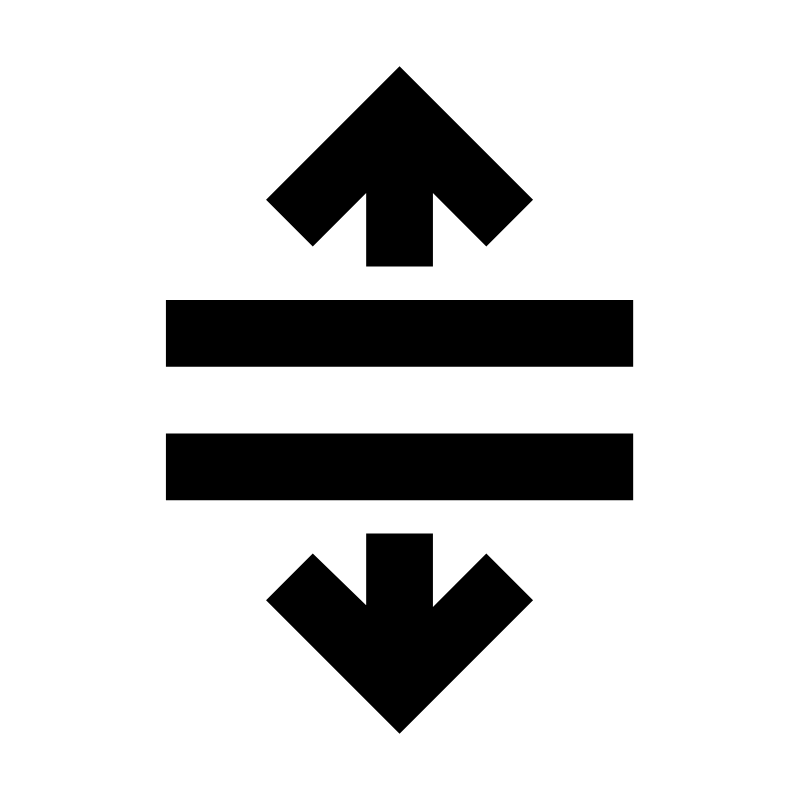 | Square cornered Use to extend a roof side |
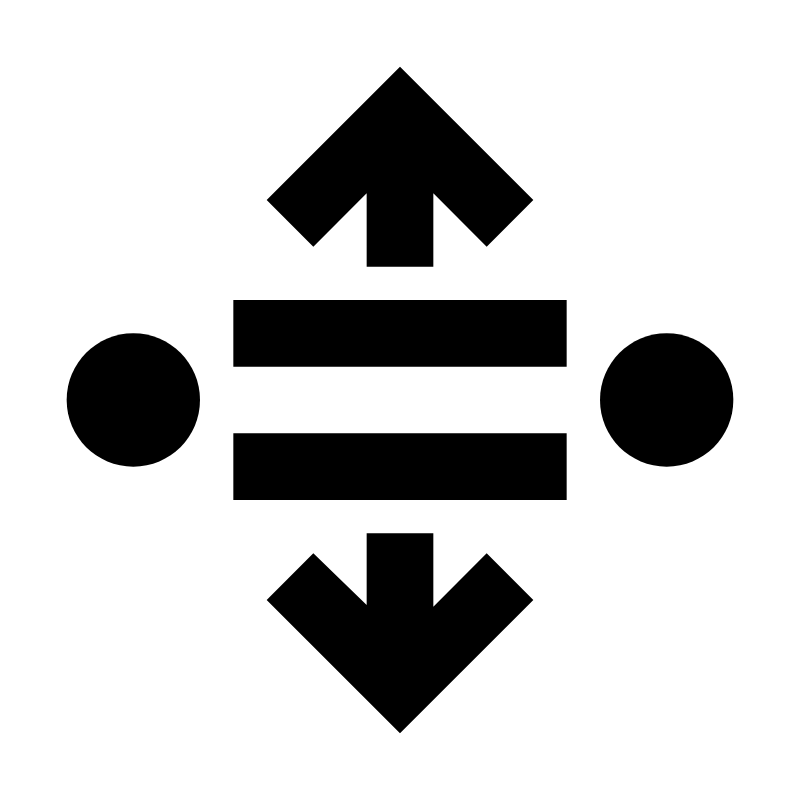 | Curved cornered Use to extend the adjoining rood side independently of the others. This will create new corners and sides which can be deleted by clicking on the corners and then the bin |
4. Blue dot
Drag the blue dot below the yellow rotation icon to indicate the direction that the panels will face. Whichever direction the arrow is facing is the panel and roof pitch direction.
See Example 1.
Examples
See below for some examples that demonstrate using the irregular building tool on actual roofs.
Example 1
Example 2
Still Need Help?
Contact Support: If you've got further questions, get in touch with our support team at help@easy-pv.co.uk (UK) or help@easy-pv.ie (IE). If you are experiencing a bug, to help us look into your issue faster, please include the email address of your account, the name of the project and screenshots of any unexpected behaviour.