Irregular Buildings in 3D design mode
The irregular building tool allows you to create unusual roof shapes in the 3D design mode. It’s perfect for complex buildings and large commercial projects.
Using irregular building tool
The irregular building tool can be found at the bottom of the Misc. section on the 3D left side-bar.
When creating a roof using the irregular building tool, there are a variety of additional handles you can use to accurately adjust the shape of the roof:
1. Pink corner handles
Click the pink corner handles to show dimensions of the associated walls. You can then click on the values to manually change these.
Click on the pink corner handles to switch between a square and circle handle:
 |
Use the square corner handles to resize the room whilst keeping the adjacent walls at the same angle. |
|
|
Use the circle corner handles to move that point independently of the other points to create angled walls. |
2. Blue circle handles
Click and drag the blue circle handles to allow you to split a wall and create irregular shapes. These will then convert to pink handles which you can delete if needed.
3. Pink rectangular handles
Use the rectangular handle to resize the room. Click on the pink rectangular handles to toggle between a square and curved cornered handles:
 |
Use the square cornered handle to extend a wall out. |
 |
Use the curved cornered handle to extend the adjoining wall independently of the others. |
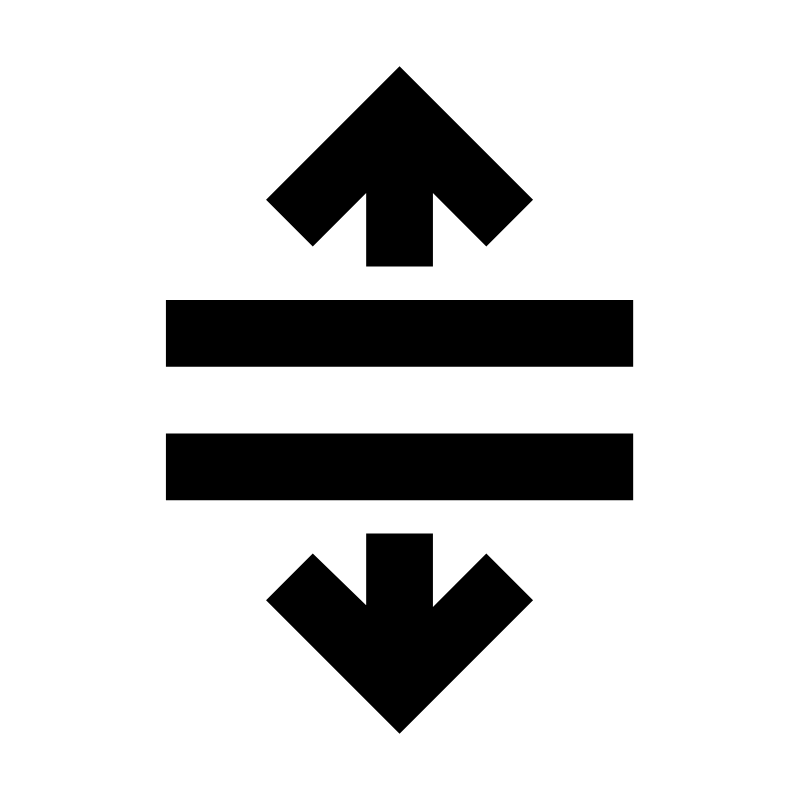
4. Blue dot
Drag the blue dot below the yellow rotation icon to indicate the direction that the panels will face. Whichever direction the arrow is facing is the panel and roof pitch direction.