
Introduction to Outline design mode
With Easy PV's Outline design mode, you can model a roof directly over satellite imagery, using automated detection tools to speed up your design process. Simply verify the automatically detected roof shape and details, or hand-draw your roof and add any obstructions.
Creating an Outline design
Outline is selected when you first create a project, input project details and under Design Mode select Outline. Then click Create in the bottom right.
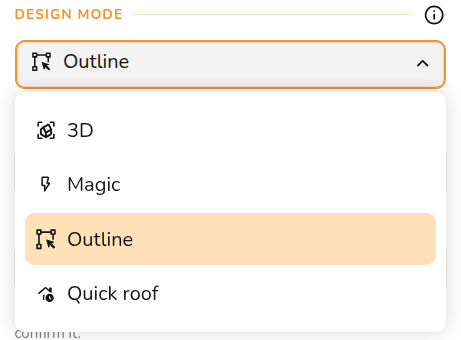
This will then take you to the Outline task tab where you can model the roof.
Outline task overview
In the Outline task you can create and edit your 2D roof model over satellite imagery.
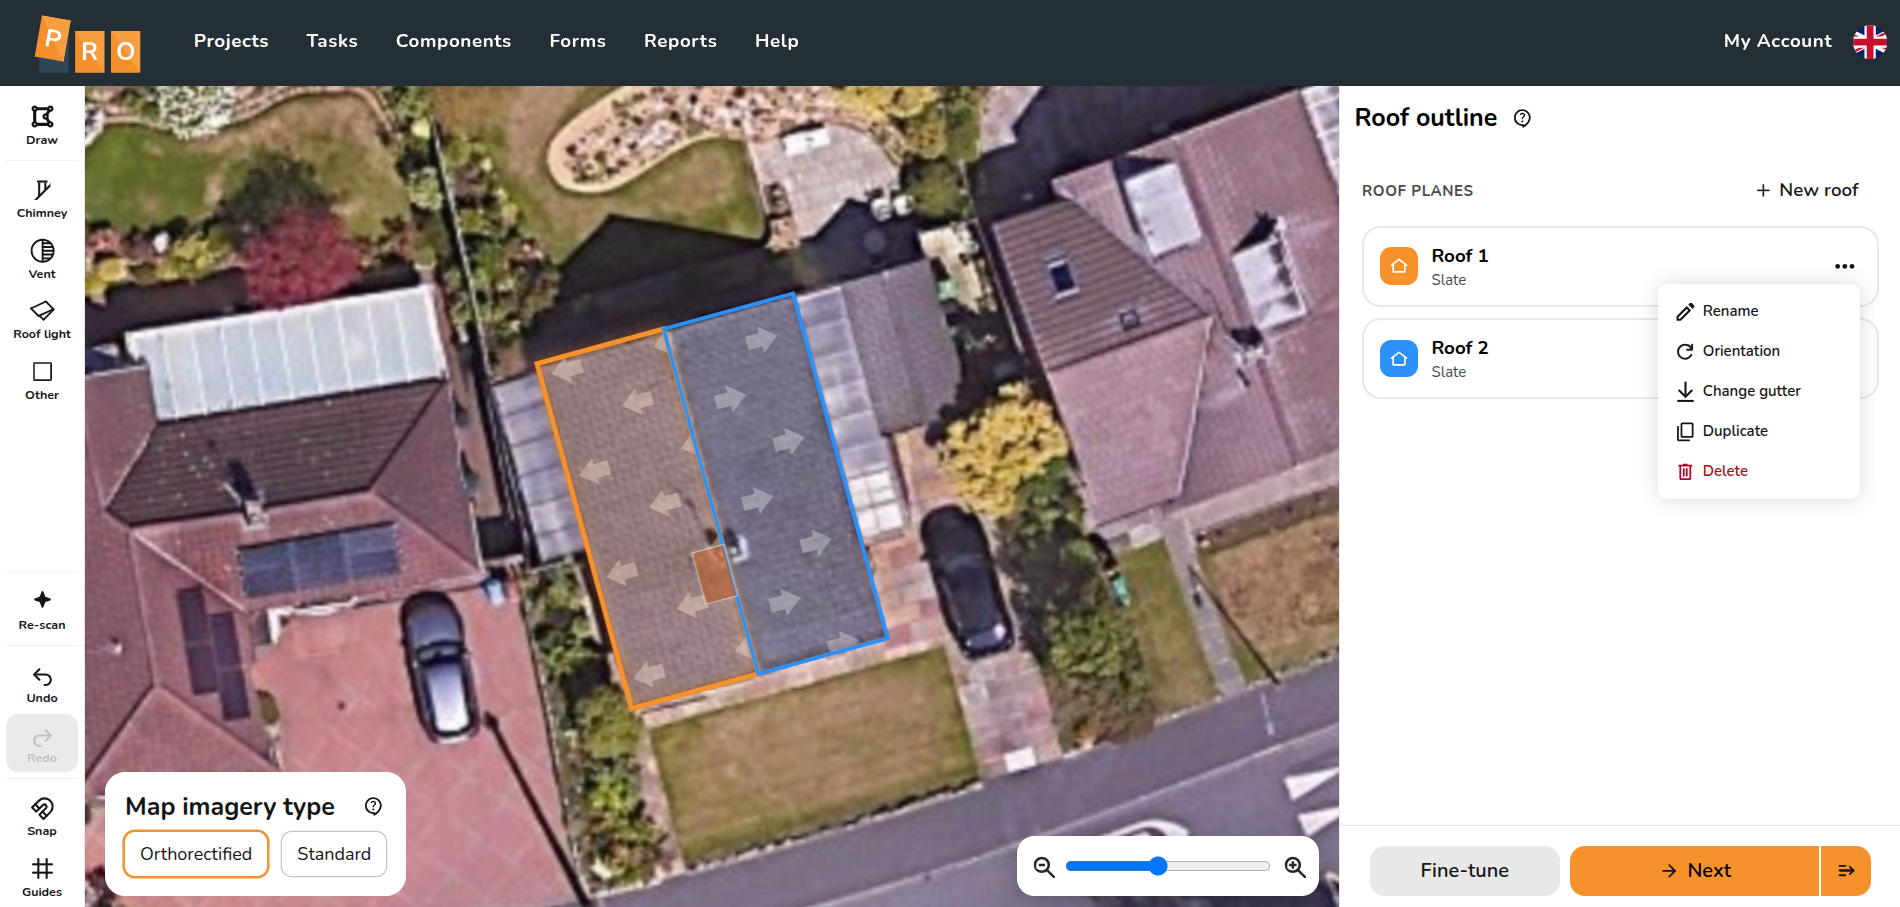
In the sidebar, clicking the ⋯ three dots on a roof will show the following options:
 Rename: Change the roof name. You can also double-click the card to edit the name in place.
 Orientation: Adjust by typing an exact bearing in degrees or using the quarter-turn buttons.
 Change Gutter: Choose which side the gutter is on
 Duplicate: Duplicate the roof
 Delete: Delete the roof from the project. Hold
 ShiftorCtrlto select multiple roof cards at once and delete them together using the floating map button.




Creating roof model
Automatic roof detection
When you first open an Outline project, the system will automatically run a roof-scan and draw any detected roofs and gutters for you.
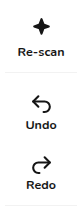
- Re-scan tool: Click the Re-scan button in the left rail to re-run detection at any time. This replaces manual edits with fresh detection.
- Undo re-scan: Clicking the Undo button once will immediately restore your previous manual drawing.
Drawing the roof
If you choose to draw a roof manually, remember that the first edge you draw is always assigned as the gutter.
Once the shape is closed, Easy PV automatically scans the roof to determine the pitch, covering, and gutter edge.
These details can be adjusted by clicking on the selected roof on the map to bring up the mini menu:
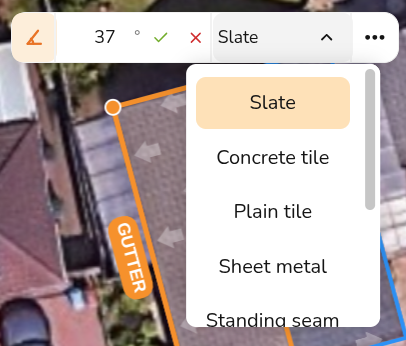
- Pitch: Set the angle of the roof slope.
- Covering: Select the material of the roof to determine mounting options.
Adjusting roof shape
When editing a roof, click and drag any of the the roof corners to adjust their position. You can also Click and drag the main body of a roof to move it.
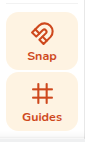
- Snap - With snapping enabled, it will snap flush against neighbouring walls and corner-to-corner.
- Guides - Guidelines dynamically appear parallel or perpendicular to the edges already drawn on the map.
Adding obstructions
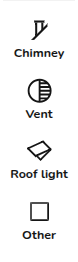
Once you have your overall roof shape, you can add obstructions to help plan your panel placement. Drag and drop or click and drag out any of the four obstruction types from the side rail onto the roof.
- Alignment snapping: Moving an obstruction displays guide lines that snap to the edges and centres of other obstructions. Vents will snap cleanly using their exact circle centres.
- Resizing: Use the generous grab areas on the resize handles to change dimensions. Selected obstructions feature a status chip and a delete pill, or you can press
Deleteon your keyboard.
Progressing to Panels
When your roof layout is complete, you have two ways to transition to your panel layout:

Still Need Help?
Contact Support: If you've got further questions, get in touch with our support team at help@easy-pv.co.uk (UK) or help@easy-pv.ie (IE). If you are experiencing a bug, to help us look into your issue faster, please include the email address of your account, the name of the project and screenshots of any unexpected behaviour.