This guide applies to the [easy-pv.co.uk](https://easy-pv.co.uk/) and [easy-pv.ie](https://easy-pv.ie) versions of Easy PV. The information provided here may not be accurate for easy-pv.com.
To add a custom inverter in Easy PV navigate to **My Components** > **Inverters** on the left-side menu or **Components** > **Edit Inverters** from the top drop down menu. You will need the datasheet from the manufacturer so Easy PV can appropriately perform calculations for inverter and battery sizing and system output. Below you will find guidance on how the information in the datasheet corresponds to the values Easy PV asks for. ### **Manage your own inverters** #### **Step 1: Add an inverter manufacturer group** To add an inverter, you first need to ensure you have an appropriate inverter manufacturer group set up. Click on the **Add inverter manufacture option** and **input a name** for the inverter manufacturer group and then **press enter on your keyboard or click out of the name field**. Once you've done this the page will update to show the new manufacturer group that you've added. Next re-open your custom manufacturer group and a**dd a description** and s**elect the type of inverter** you will add to this inverter group. You can set the type as PV inverters, hybrid inverters or AC-coupled inverters. You can only add one type of inverter to each inverter manufacturer group, so if you want to add specific PV inverters (also known as a string inverter) and hybrid inverters you will need a separate group for each. [](https://help.easy-pv.co.uk/uploads/images/gallery/2025-05/ks1A5HpXhdUyFdyM-create-an-inverter-manufacturer-group.gif) #### **Step 2: Add a specific inverter model** To add a specific inverter model, first **navigate to the inverter manufacturer group you want to add it to**. Click on the **Add inverter** button and **add the name, description and model number**. These details are displayed in the customer proposal, so add information that is useful and compelling for your customer. You can also add the following details at this stage: - ENA system reference - this is used for DNO applications and can be found on the ENA Connect Direct portal. - Price - this is the price that will be used in the financial task for any projects that include this component [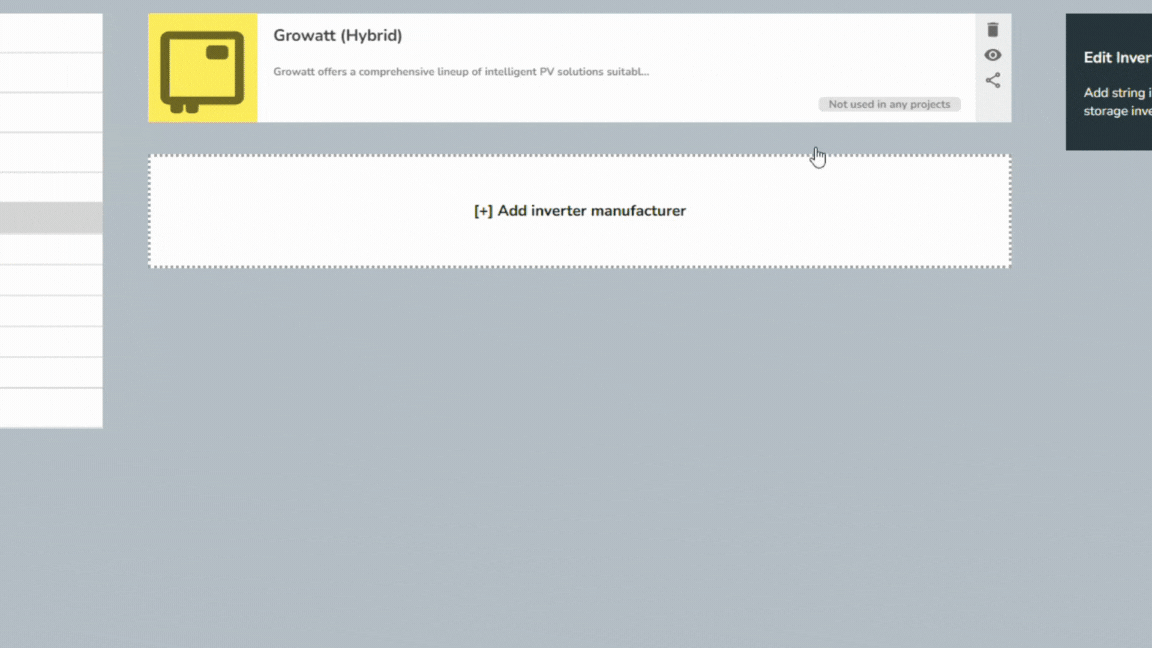](https://help.easy-pv.co.uk/uploads/images/gallery/2025-05/fRHZO2I7cBTPAAvr-add-inverter.gif) #### **Step 3: Add technical information from the product's datasheet** Finally, add all the technical details for the product. These are needed in order for Easy PV to correctly use the inverter in your projects. You can normally find the data needed on the manufacturers data sheet. If data is missing please contact the manufacturer directly. [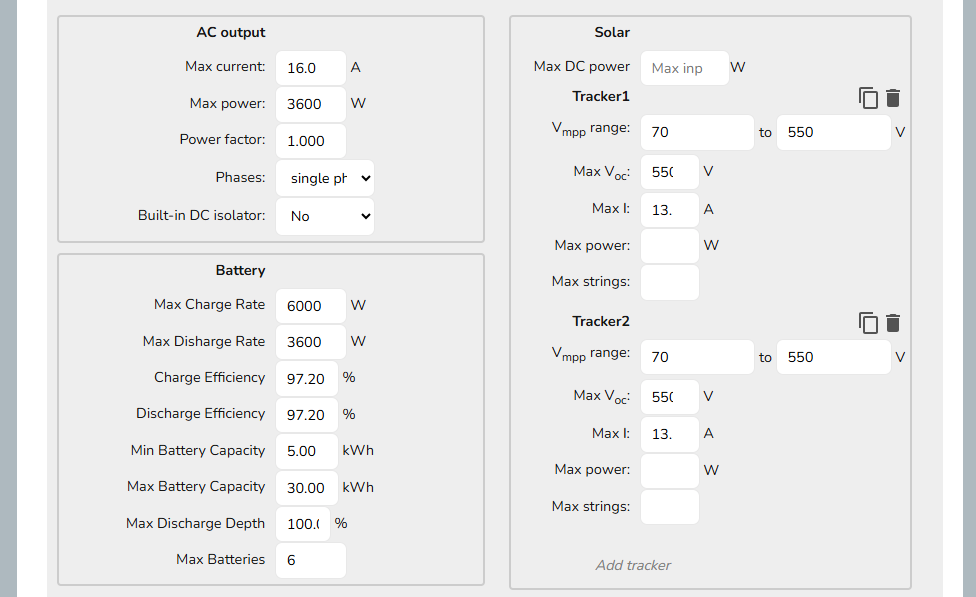](https://help.easy-pv.co.uk/uploads/images/gallery/2025-05/xT4gOQkKvc0BDX65-image.png) Below is a list of definitions and the potential variations for each value on different manufacturer datasheets for each section for PV, hybrid and AC-coupled inverters. ##### **AC output** As well as whether it is a single phase or three phase inverter, other than max power for AC inverters, all inverter types you will need to input the following information:| **Technical info** | **Variations** |
|---|---|
| **Max current:** maximum AC current in Amps that the inverter can output | - Max output current - Max AC current |
| **Max power:** maximum AC power output in Watts of the inverter | - Max recommended PV power - Max AC apparent power - Max apparent AC power - Nominal AC power - Rated output power |
| **Power factor** | - This is 1 unless stated otherwise |
After inputting the name, max current and max power the inverter will save and close, remember to re-open it and click ***Add tracker*** (under **Solar** on the right) for each MPPT input the inverter has. If the trackers are the same then you can simply click the copy icon next to the bin icon.
| **Technical info** | **Variations** |
|---|---|
| **Tracker, Vmpp range**: the range of Vmpp values (maximum power point voltage of the panels at standard test conditions (STC)) compatible with this inverter | - MPP voltage range - Operating voltage range - MPPT range |
| **Tracker, Max Voc:** maximum open circuit voltage | - Max DC voltage - Max input voltage - Max DC input power |
| **Max I:** maximum current | - Max input current per MPP tracker - Max input current |
| **Max power:** The maximum input power in W. This field is optional as not all datasheets provide this information. | - Max. Input Power\[W\] |
| **Max strings:** how many strings can be connected to each MPPT. | - Max input number per MPP tracker - MPPT Tracker / No. of Strings per MPPT Tracker - No. of Strings per MPP Tracker |
| **Technical info** | **Variations** |
|---|---|
| **Max Charge Rate:** the maximum power at which the inverter can charge a battery | - Max charge power |
| **Max Discharge Rate:** the maximum power that the inverter can draw from a battery | - Max discharge power - Often the same as the maximum charge rate |
| **Charge Efficiency:** the efficiency of the charge process | - Datasheets may have several values; ‘Euro’ efficiency |
| **Discharge Efficiency:** the efficiency of the discharge process. | - Battery discharge - If no separate value is given on the datasheet, use the same value as for charge efficiency |
| **Min Battery Capacity** | - The capacity of the smallest battery bank that should be used with this inverter |
| **Max Battery Capacity** | - The capacity of the largest battery bank that should be used with this inverter |
| **Max Discharge Depth:** the maximum depth to which the inverter will discharge an attached battery | - If no figure is given in the datasheet, use 100% |
| **Max Batteries:** maximum number of batteries that can be connected | - Leave blank if there is no maximum |