Creating components
If you need to use a component that is not built into Easy PV already, read here for full instructions on how to add and manage each type.
Note that Easy PV does not support adding custom optimisers or mounting systems. To use custom mounting, you will need to select no mounting in the panels task and add the mounting to the financial task, but it will not be included in any calculations or designs Easy PV generates.
- Custom solar panels
- Custom inverters
- Custom battery
- Custom AC isolators, DC isolators and meters
- Custom accessories and other components
Custom solar panels
To add a custom panel in Easy PV navigate to My Components > Solar Panels on the left-side menu or Components > Edit Solar Panels from the top drop down menu.
You will need the datasheet from the manufacturer so Easy PV can appropriately perform calculations for inverter sizing and system output. Below you will find guidance on how the information in the datasheet corresponds to the values Easy PV asks for.
Creating manufacturer
When adding any custom panel in Easy PV you first need to add a custom manufacturer category which allows you to organise your custom components. The components added will be categorised by their manufacturer when it comes to select them in a project.
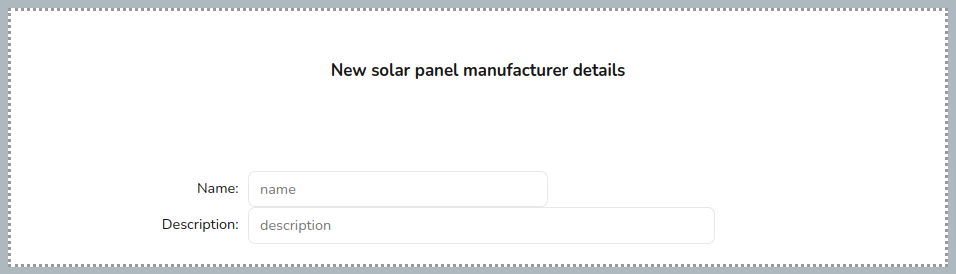
After inputting the name for the manufacturer, re-open your custom manufacturer and you will see the additional option to add a solar panel.
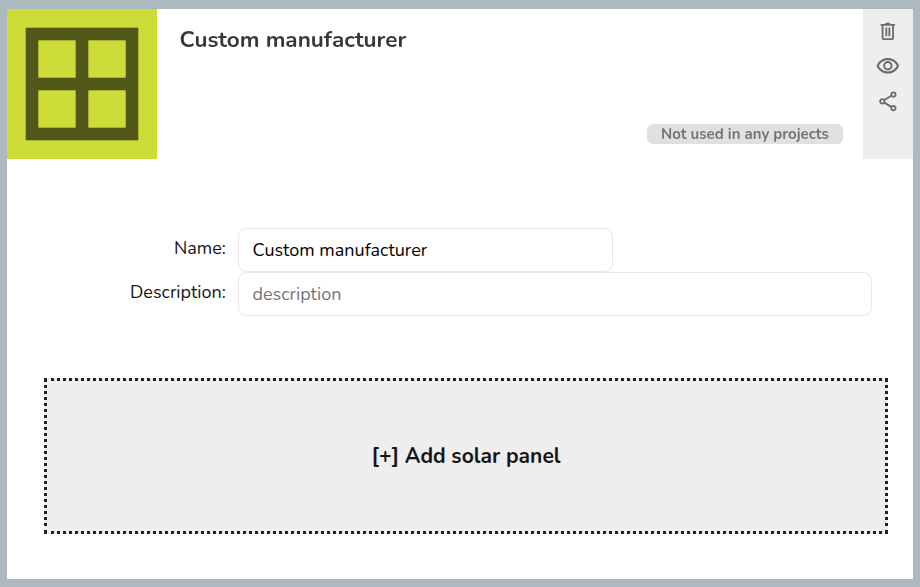
Inputting information from datasheet
You will then need to input the technical information found in the datasheet for the panel. If your data sheet has two sets of data you should use the values for standard test conditions (STC) not the values for Normal Module Operating Temperature (NMOT). This is a list of potential variations for each value required to add a custom panel:
|
Technical info |
Variations |
|
Power: power of the panel at STC in Watts |
|
|
Isc: short circuit current of the panel at STC in A |
|
|
Impp: maximum power point current of the panel at STC in A |
|
|
ΔIsc/°C: the temperature coefficient of the panel short circuit current |
|
|
Voc: open circuit voltage of the panel at STC |
|
|
Vmpp: maximum power point voltage of the panel at STC |
|
|
ΔVoc/°C: temperature coefficient of the open circuit voltage of the panel |
|
The panel will auto-save once all the required fields are completed. Once you have added a panel successfully, you’ll be able to select it in the list of panels when creating a new project in the panels task, listed under your custom manufacturer name.
Additional details and rules
- The photo and description for the panels will show up on your final customer proposal, to edit the image of the custom manufacturer or component, click on the default image and upload from your files.
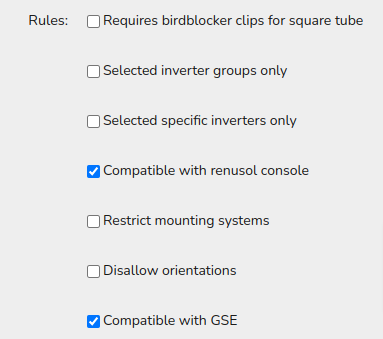
- There is a set of rules which you can select or deselect as you need, these are the default settings for new panels:

Custom inverters
To add a custom inverter in Easy PV navigate to My Components > Inverters on the left-side menu or Components > Edit Inverters from the top drop down menu.
You will need the datasheet from the manufacturer so Easy PV can appropriately perform calculations for inverter and battery sizing and system output. Below you will find guidance on how the information in the datasheet corresponds to the values Easy PV asks for.
Manage your own inverters
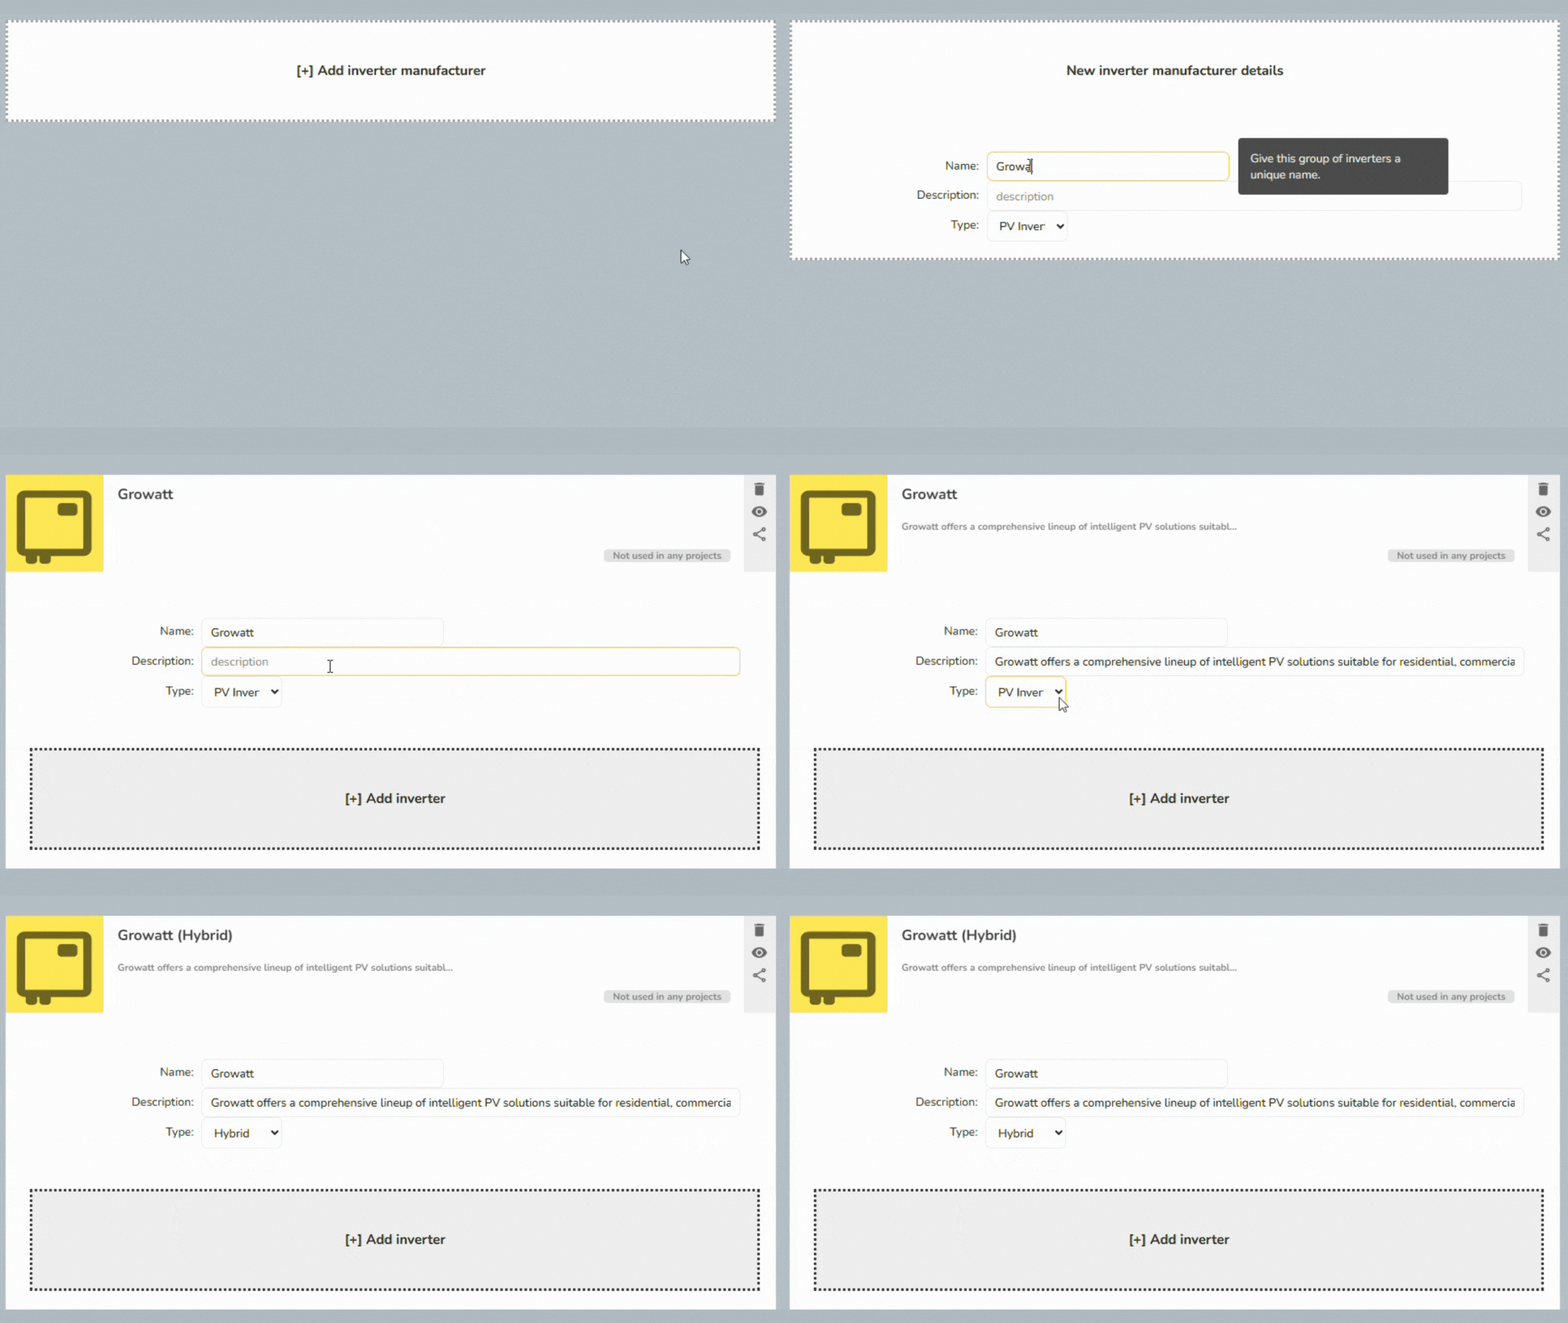
Step 1: Add an inverter manufacturer group
To add an inverter, you first need to ensure you have an appropriate inverter manufacturer group set up. Click on the Add inverter manufacture option and input a name for the inverter manufacturer group and then press enter on your keyboard or click out of the name field. Once you've done this the page will update to show the new manufacturer group that you've added.
Next re-open your custom manufacturer group and add a description and select the type of inverter you will add to this inverter group. You can set the type as PV inverters, hybrid inverters or AC-coupled inverters. You can only add one type of inverter to each inverter manufacturer group, so if you want to add specific PV inverters (also known as a string inverter) and hybrid inverters you will need a separate group for each.
Step 2: Add a specific inverter model
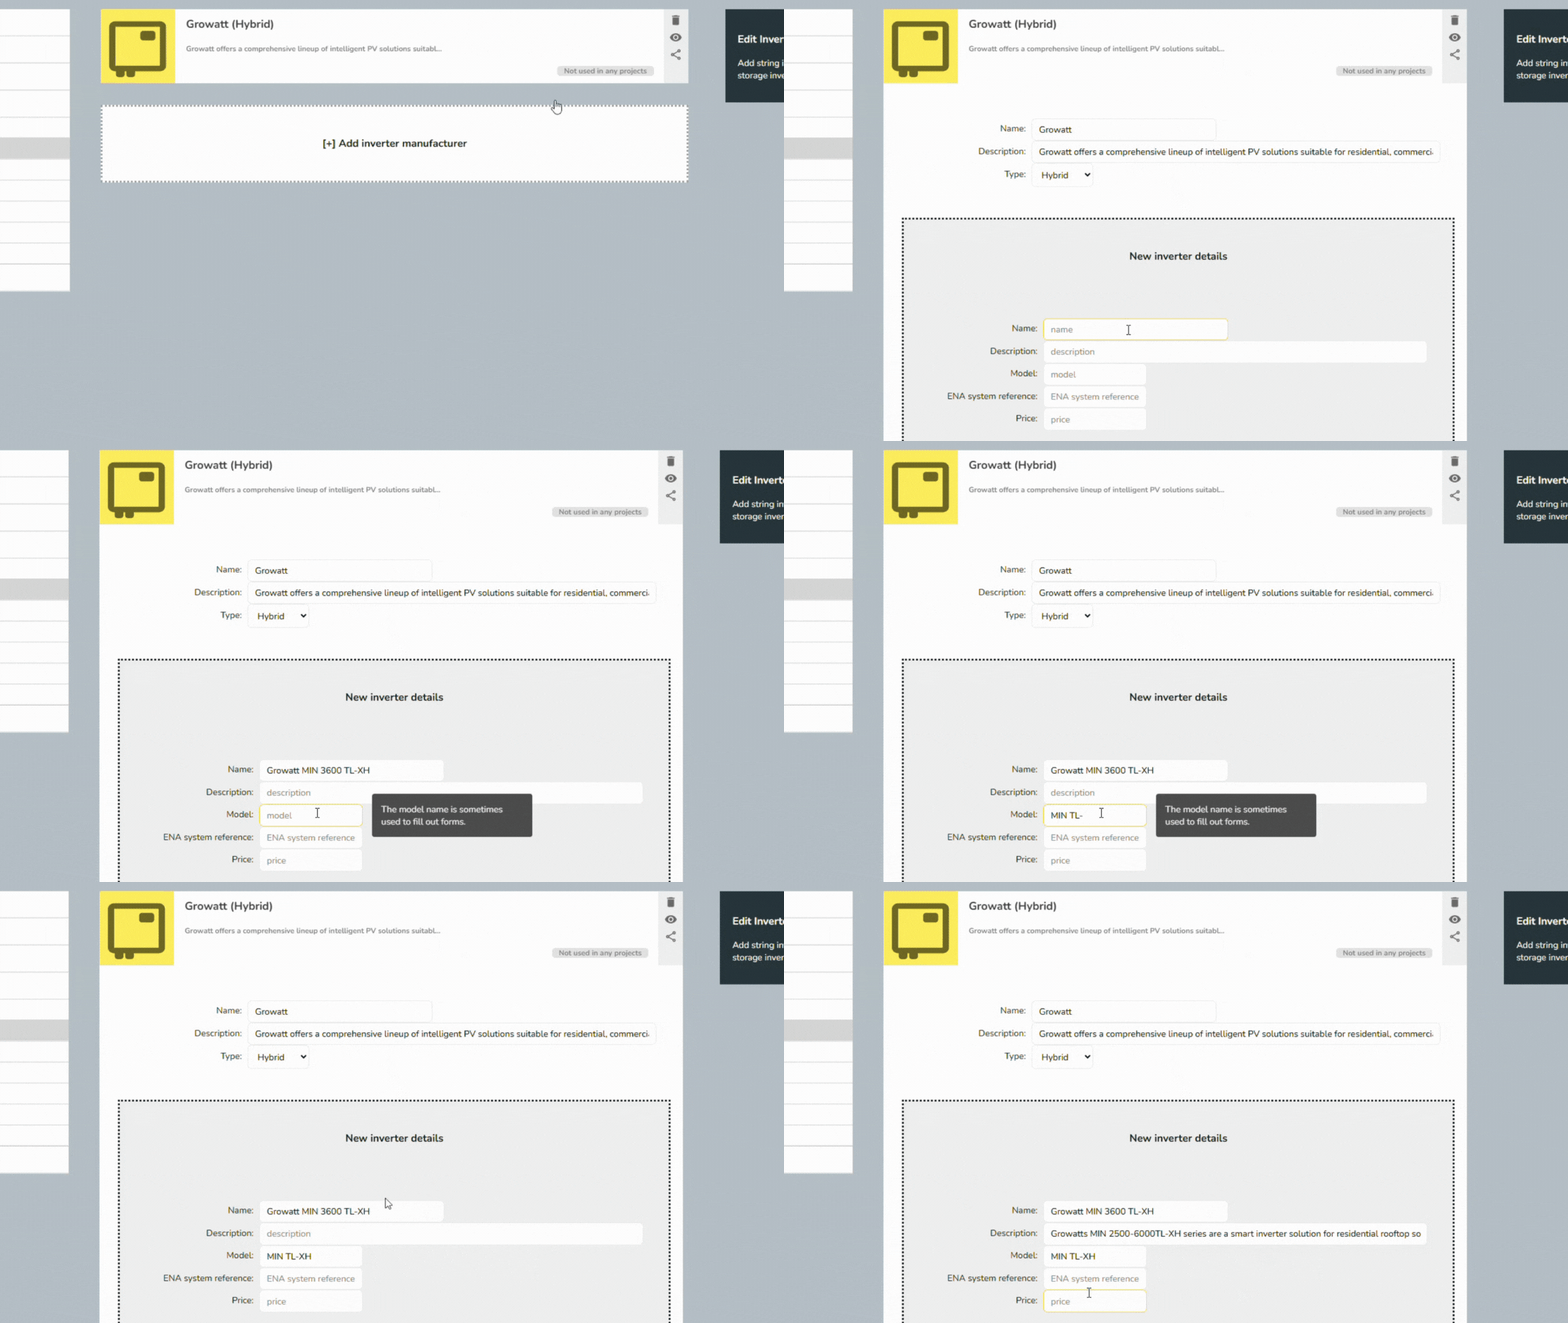
To add a specific inverter model, first navigate to the inverter manufacturer group you want to add it to. Click on the Add inverter button and add the name, description and model number. These details are displayed in the customer proposal, so add information that is useful and compelling for your customer.
You can also add the following details at this stage:
- ENA system reference - this is used for DNO applications and can be found on the ENA Connect Direct portal.
- Price - this is the price that will be used in the financial task for any projects that include this component
Step 3: Add technical information from the product's datasheet
Finally, add all the technical details for the product. These are needed in order for Easy PV to correctly use the inverter in your projects. You can normally find the data needed on the manufacturers data sheet. If data is missing please contact the manufacturer directly.
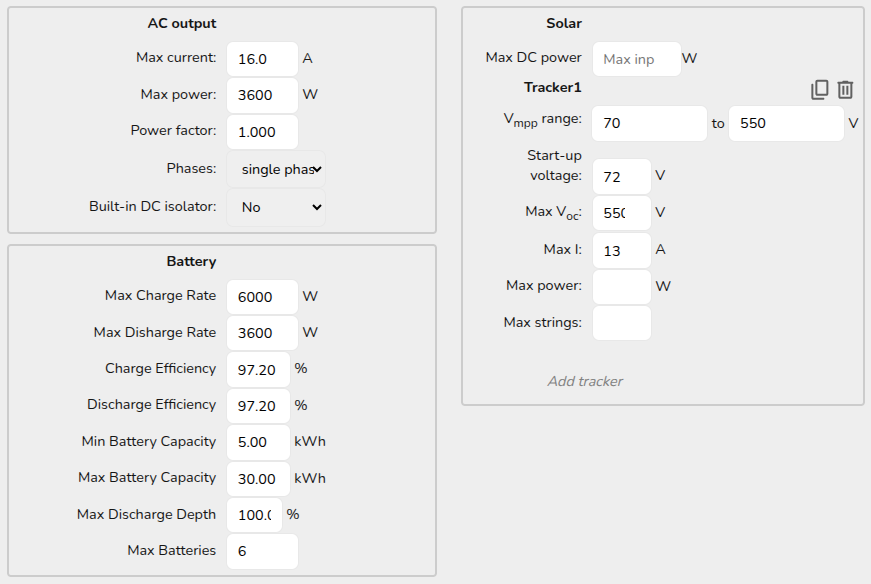
Below is a list of definitions and the potential variations for each value on different manufacturer datasheets for each section for PV, hybrid and AC-coupled inverters.
AC output
As well as whether it is a single phase or three phase inverter, other than max power for AC inverters, all inverter types you will need to input the following information:
|
Technical info |
Variations |
|---|---|
|
Max current: maximum AC current in Amps that the inverter can output |
|
|
Max power: maximum AC power output in Watts of the inverter |
|
|
Power factor |
|
Solar
For PV and Hybrid inverters you will also need to input information for the solar input:
After inputting the name, max current and max power the inverter will save and close, remember to re-open it and click Add tracker (under Solar on the right) for each MPPT input the inverter has. If the trackers are the same then you can simply click the copy icon next to the bin icon.
|
Technical info |
Variations |
|---|---|
|
Tracker, Vmpp range: the range of Vmpp values (maximum power point voltage of the panels at standard test conditions (STC)) compatible with this inverter |
|
|
Start-up voltage: the minimum DC voltage required to start up the inverter |
|
|
Tracker, Max Voc: maximum open circuit voltage |
|
|
Max I: maximum current |
|
|
Max power: The maximum input power in W. This field is optional as not all datasheets provide this information. |
|
|
Max strings: how many strings can be connected to each MPPT. |
|
Battery
For hybrid and AC-coupled inverters you will also need to input battery compatibility information:
|
Technical info |
Variations |
|---|---|
|
Max Charge Rate: the maximum power at which the inverter can charge a battery |
|
|
Max Discharge Rate: the maximum power that the inverter can draw from a battery |
|
|
Charge Efficiency: the efficiency of the charge process |
|
|
Discharge Efficiency: the efficiency of the discharge process. |
|
|
Min Battery Capacity |
|
|
Max Battery Capacity |
|
|
Max Discharge Depth: the maximum depth to which the inverter will discharge an attached battery |
|
|
Max Batteries: maximum number of batteries that can be connected |
|
Custom battery
To add a custom battery in Easy PV navigate to My Components > Batteries on the left-side menu or Components > Edit Batteries from the top drop down menu.
You will need the datasheet from the manufacturer, below you will find guidance on how the information in the datasheet corresponds to the values Easy PV asks for.
If your custom battery is not showing up in the inverter task, see the 'Rules' section and check the compatibility is correct.
Inputting information from datasheet
Below is a list of definitions and potential variations for each value on different manufacturer data sheets:
|
Technical info |
Variations |
|---|---|
|
Battery Capacity: total battery capacity. Usable capacity may be less if there is a max permitted discharge depth. |
|
|
Max Discharge: maximum depth to which the manufacturer recommends that this battery is discharged. Typically 80 or 90%. |
|
|
Round Trip Efficiency: percentage of electricity recovered from the battery in a charge-discharge cycle. Around 95% is typical for lithium ion batteries. |
|
The battery will auto-save once all the required fields are completed.
Rules
Notice you can select a variety of rules for the battery. Some key points:
- It is important you select which inverter groups or which specific inverters the battery is compatible with - either by checking 'Selected inverter groups only' or 'Selected specific inverts only' and selecting from the menu which inverters it is compatible with.
- If your hybrid inverter is an all-in-one system and you would like it to appear in one line in the quote then make sure to input the price in the inverter and then select 'exclude from shopping cart' in the battery rules - this means it will only include and list the cost of the inverter and not the batteries. Note that this will mean additional batteries will not be priced if more than one battery can be included.
Custom AC isolators, DC isolators and meters
In Easy PV you can add custom AC isolators, DC isolators and meters. Each of these will be available to select in the electrical task.
To add a custom component in Easy PV navigate to My Components on the left-side menu or Components from the top drop down menu and select the type of component you would like to add.
Creating a component
Click the orange + New [component type] button to create a component. You will need the datasheet from the manufacturer so that you can input the correct technical specifications of your product. This is a list of product information required:
General
Here you can enter product information that will appear when you go to select the component in your project.
| Product info | Description |
|
Name |
Name shown across Easy PV. Usually the manufacturer and model.
|
| Manufacturer |
Company that makes this product.
|
| Model Number |
Manufacturer's model or part number.
|
| Price |
Price of the product.
|
| Description |
Notes shown when selecting this product.
|
| Product Image |
⚠️ You must save your component before you can add a product image. |
Electrical
Here you can enter the technical specifications of the product. The details required will be different depending on the type of component.
| Technical info | Description |
| AC Isolators |
|
|
Max Current |
Maximum continuous current in amps (A). |
|
Type |
3-Pole for single phase, 4-Pole for three phase.
|
|
DC Isolators |
|
|
Type |
2-Pole switches one string. 4-Pole can switch two strings in parallel.
|
| Current/voltage rating pairs |
Current in amps (A), Voltage in Volts (V).
Click + Add row to enter another pair. |
| Meters | |
|
Max Current |
Maximum continuous current in amps (A).
|
|
Type |
Single-phase or three-phase supply.
|
|
Hybrid |
Tick if compatible with hybrid inverters.
|
Admin
Set optional controls here.
| Control | Description |
|
Wholesale ID |
Optional: For products supplied by Midsummer, put the product ID here. |
|
Component priority |
Optional: Decides which component is recommended or listed first. A higher number wins. Blank or 0 is the lowest priority. |
|
Owner |
⚠️ This will be set to 'My account' when you create a new component.
You can share or change ownership after you save, if you want others on your team to have access to it. |
Click Create to save the component. Once you have added a component successfully, you’ll be able to select it in the list when creating a new project in the Electrical task.
Editing a component
 Edit button in the top-right corner. This will allow you to modify the product details and set some additional information:
Go to the Documents tab to upload files such as data sheets, MCS certificates, installation guides, warranties, maintenance records, user guides, or ENA certificates for the component.
Select the Document type from the dropdown and choose a file from your computer to upload.
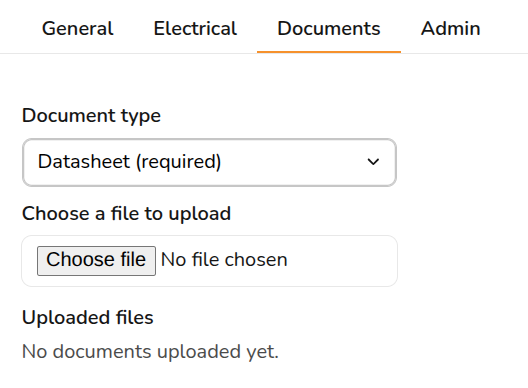
Go to the Admin tab and select an Owner from the dropdown. This controls who in your organisation has the rights to see or edit this specific component:
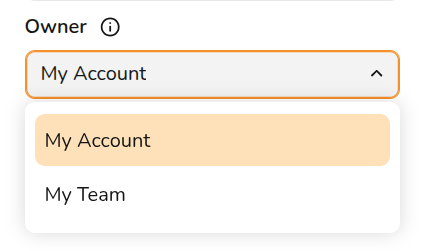
- My account: Only you can see and edit the component.
- My team: Everyone on your team can see the component. Only team owners and admins can edit it.
Filters

The component list can get quite large now that it displays both the global Midsummer database and your custom library in one unified view. You can apply filters to sort your workspace:
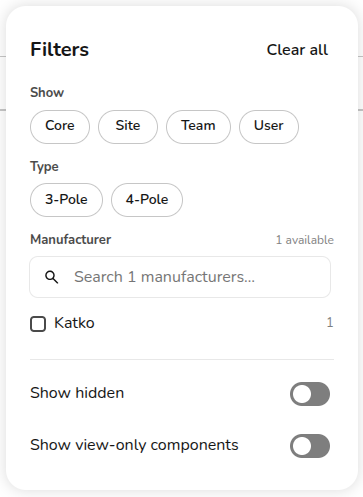
- Filter by Owner: Narrow your list down to see only components belonging to a specific ownership group (
Everyone,Site,Team, orYou). - Filter by Type: Sort your list by component specifications.
- Filter by Manufacturer: Group components together by the specific company that manufactured them.
- Show Hidden: Tick this box to reveal components that you or your team have previously hidden.
- Show View-Only Components: Toggle this option to view components that you have access to use in your designs, but do not have permission to edit (such as centrally managed Core components).
- Clear All: Click this button at any time to reset all search queries, checkboxes, and filters back to the default view.
FAQs
❓Why isn’t my custom component showing up as an option in my project?
-
If you can see a meter inside your Component Editor but it doesn’t appear as an option when you are working on an active project design, it is failing one of these four rules:
- It isn't compatible: If your project design isn't compatible with this specific product, you won't see it as an option. Check the specifications you have set in the 'Electrical' tab for your component.
- It has been hidden: Hiding a meter removes it from your dashboard view and completely disables it from the Electrical task selection. Check for hidden components by clicking Filter and toggle on 'Show hidden'.
Still Need Help? / Want to know more?
Custom accessories and other components
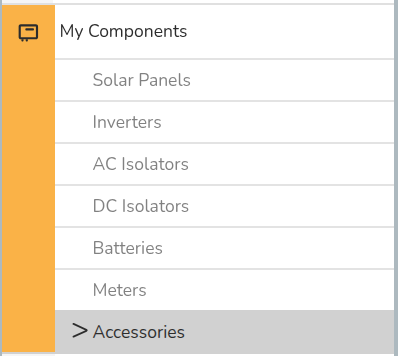
To add a custom accessory in Easy PV navigate to My Components > Accessories on the left-side menu or Components > Edit Accessories from the top drop down menu.
These will be available to select in the electrical task, with accessories in the Extras section of the electrical task.
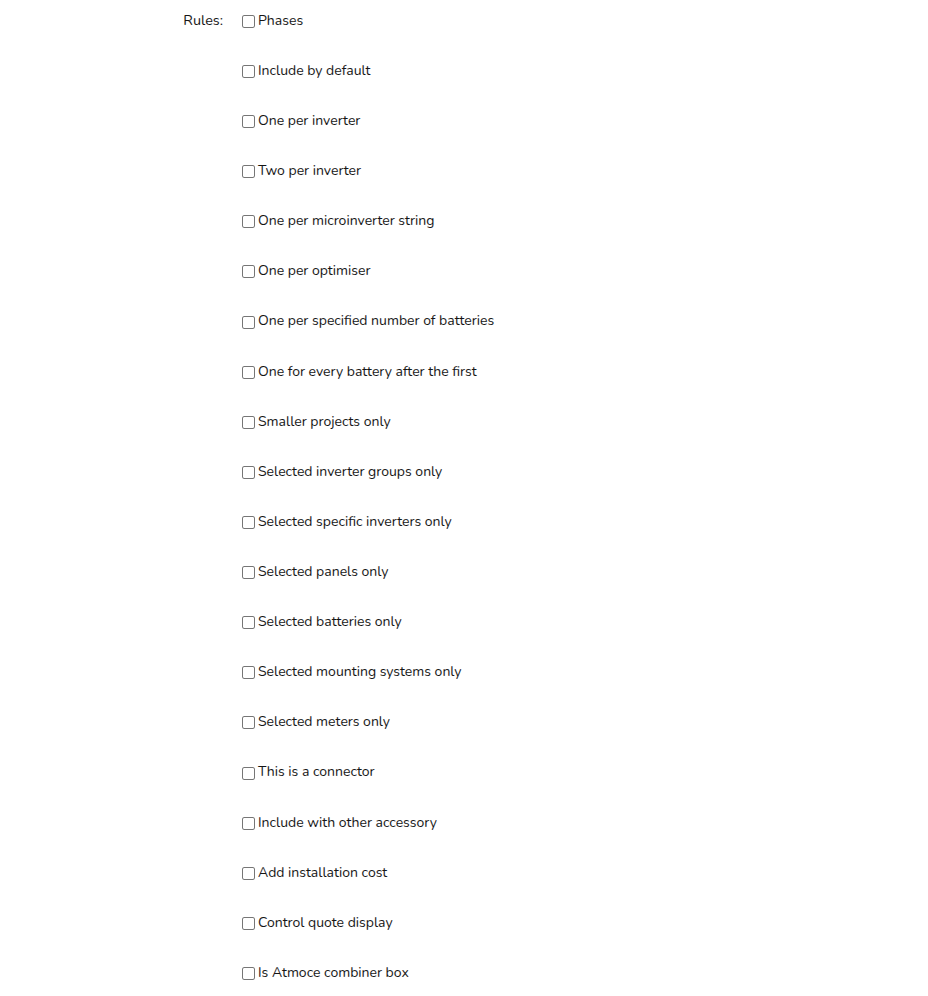
These are largely more straight forward than other components in Easy PV. However, when adding a custom accessory, there are many different rules you can select. To determine what each rule changes, select the rule and a window will appear which details what the rule will change about how the component can be used.