| [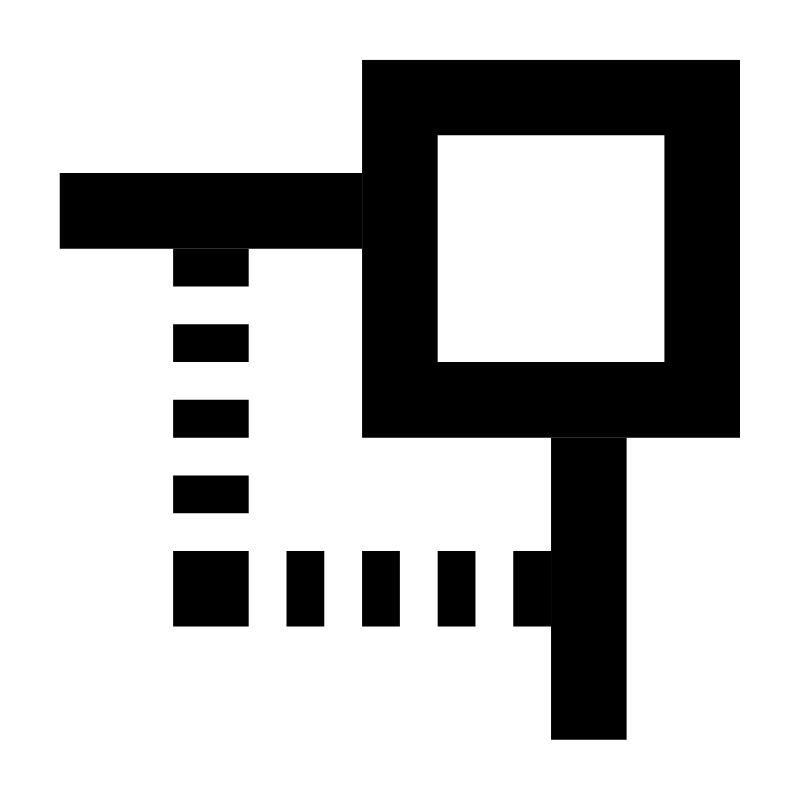](https://help.easy-pv.co.uk/uploads/images/gallery/2025-11/21tQjFPryFqlr6ks-untitled-design.png) | **Square corner handle**
Use to resize the roof whilst keeping the adjacent sides at the **same angle**.
|
| [](https://help.easy-pv.co.uk/uploads/images/gallery/2025-11/vVnmnBt9L24YjzFe-image.png)
| **Circle corner handle**
Use to move that point **independently** of the other points to create angled sides. This is the default option for the irregular building tool.
|
| [](https://help.easy-pv.co.uk/uploads/images/gallery/2025-11/g39VBFYQw8ePz0vy-3.png)
| **Delete**
Delete the corner. This option is only available if there are 4 or more corners on a roof.
|